Greetings! This is the start of a four part educational series on medieval bloomery iron smelting. My goal for this series is to serve as a benchmark for smiths or enthusiasts, like myself, looking to learn the ropes of smelting and related activities. Should you be a seasoned smelter, please feel free to sit a spell and offer advice and or criticism. On all related posts, comments will be turned on and please feel free to use them.
First Things First
As before mentioned, I’m no expert and doubt I’ll ever be. I’m someone who has a some first hand experience and several years worth of research, typing away on a blog, so take that into account. There’s a plethora of master iron workers who have more smelts under their belt than days I’ve been alive.
With That Out of the Way, Let’s Continue
In this installment we’ll cover:
- Concept
- Raw Materials
- Iron ore
- Clay
- Sand
- Charcoal
- Tools
- Bloomery tools of the trade
- Blower or bellows depending on your route
- safety equipment
Concept
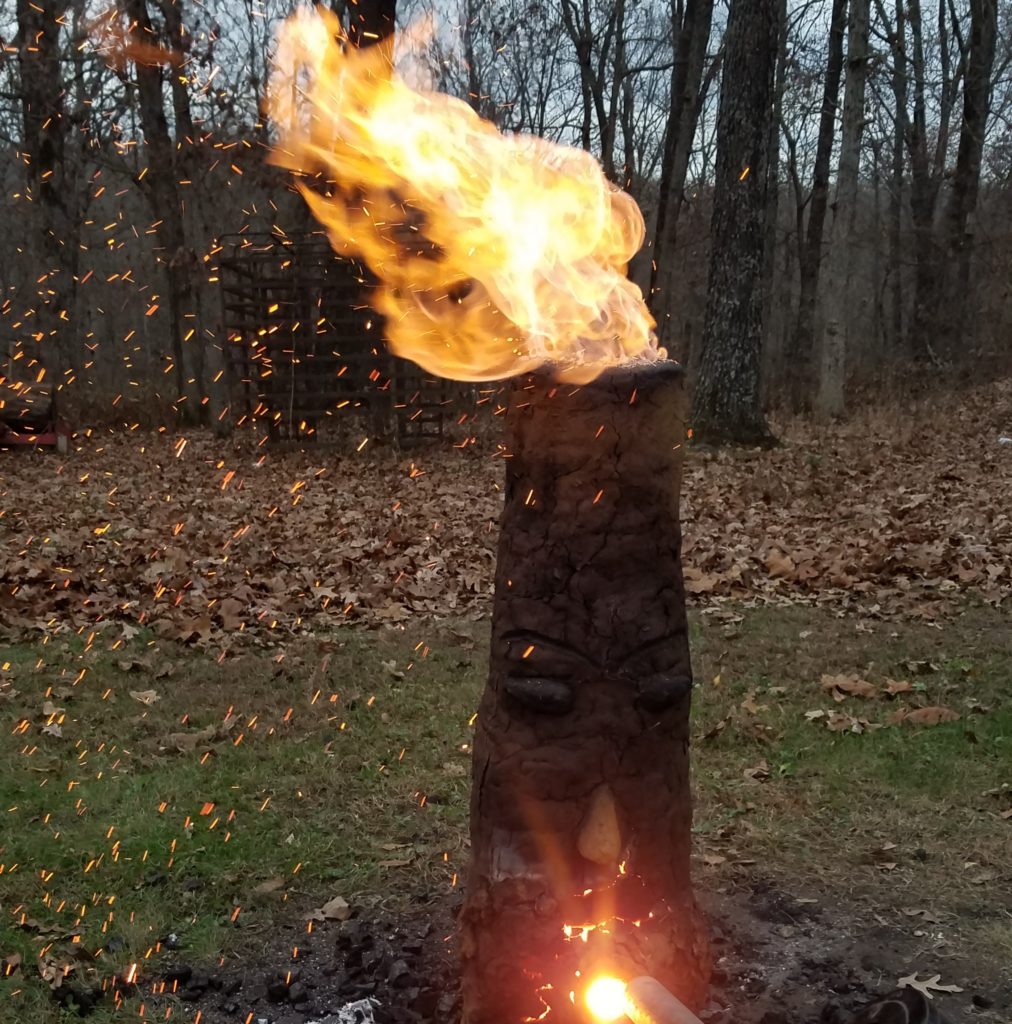
Iron smelting is a tradition thousands of years old, and bloomery smelting was one of the first ways iron was made by mankind. I like to say that you can make iron smelting as complicated or as simple as you or your wallet like, and its true when you think about it. Humans were making iron during a time when it was believed that the world was flat and that disease was caused by demons. They didn’t have the ability to understand how carbon migration worked or what ferrite or austenite was. If they were getting good results from a certain technique then they stuck to it, not understanding the science behind it until much later on. I choose to work the same way, although unlike the ancient iron worker I have thousands of years or research at my disposal. Now you can choose to go the complicated route with thermocouples and fancy microscopes and lab test that monitor every change done to the iron throughout the smelting process, and that’s fine. There’s nothing wrong with that, in fact if you’re interested in producing the highest quality iron time after time then you’re better off that way. But to me using modern refractories and the like takes the soul out of the smelt. I began this journey with the intention of challenging myself, learning from my mistakes, and relying on my senses just as ancient man did.
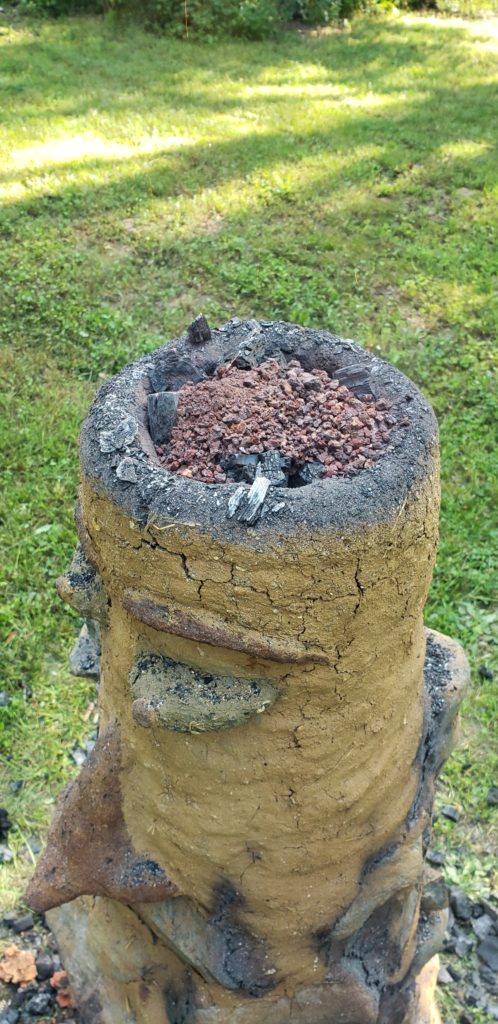
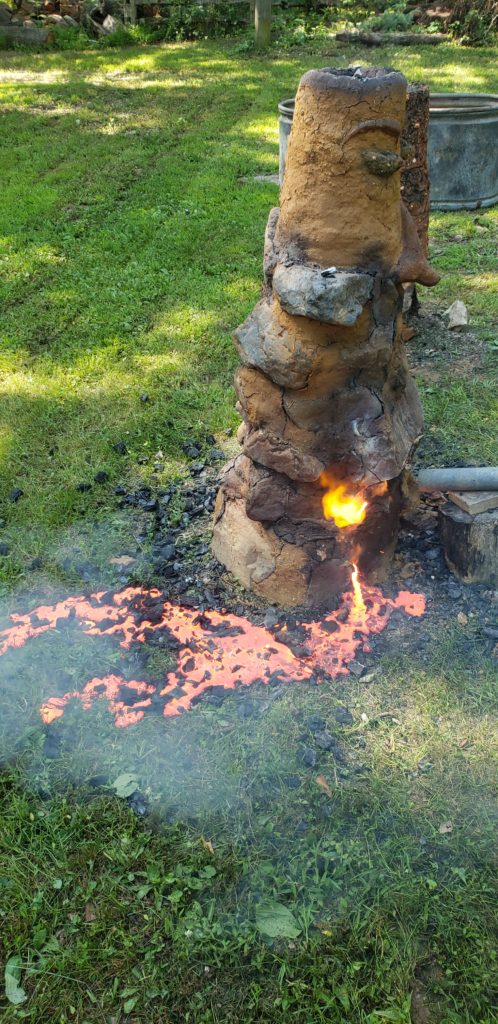
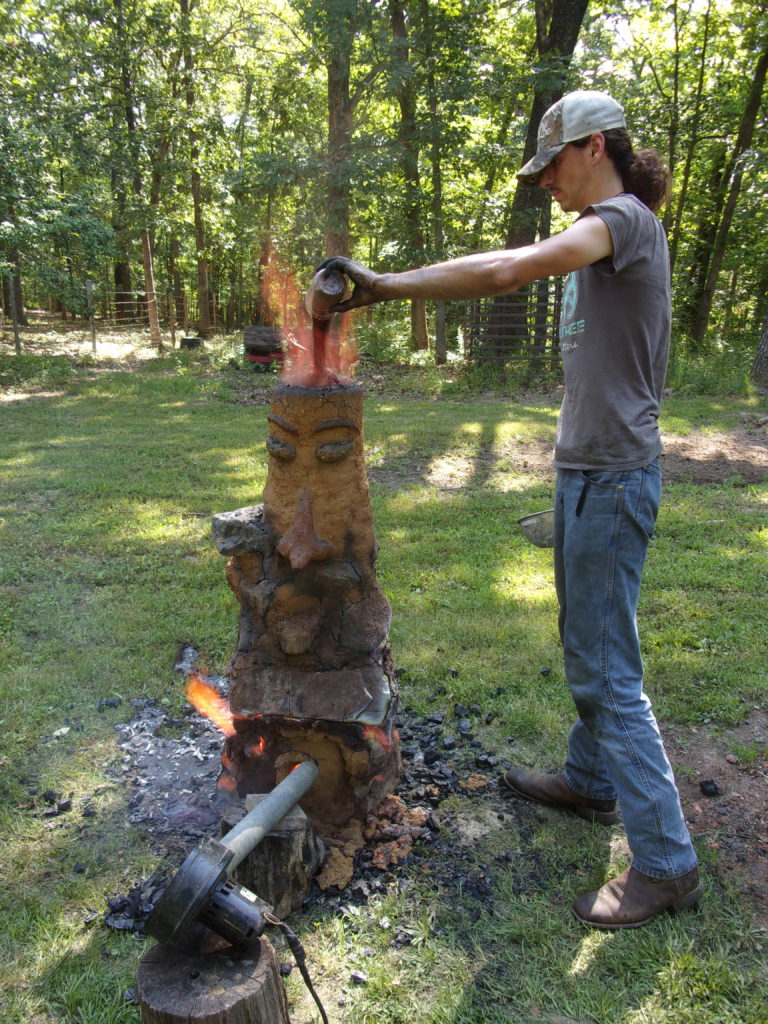
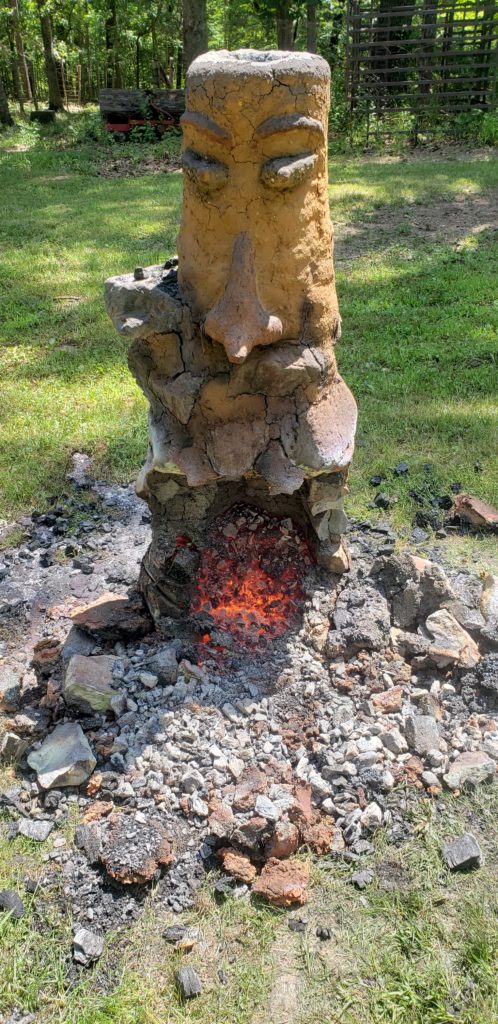
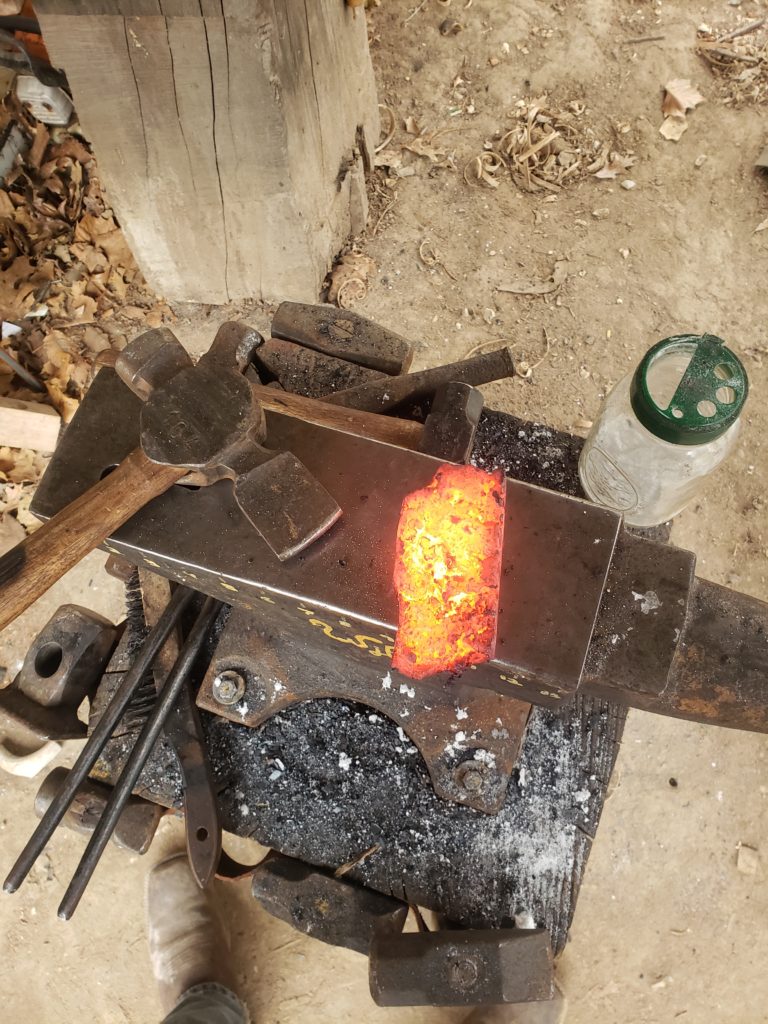
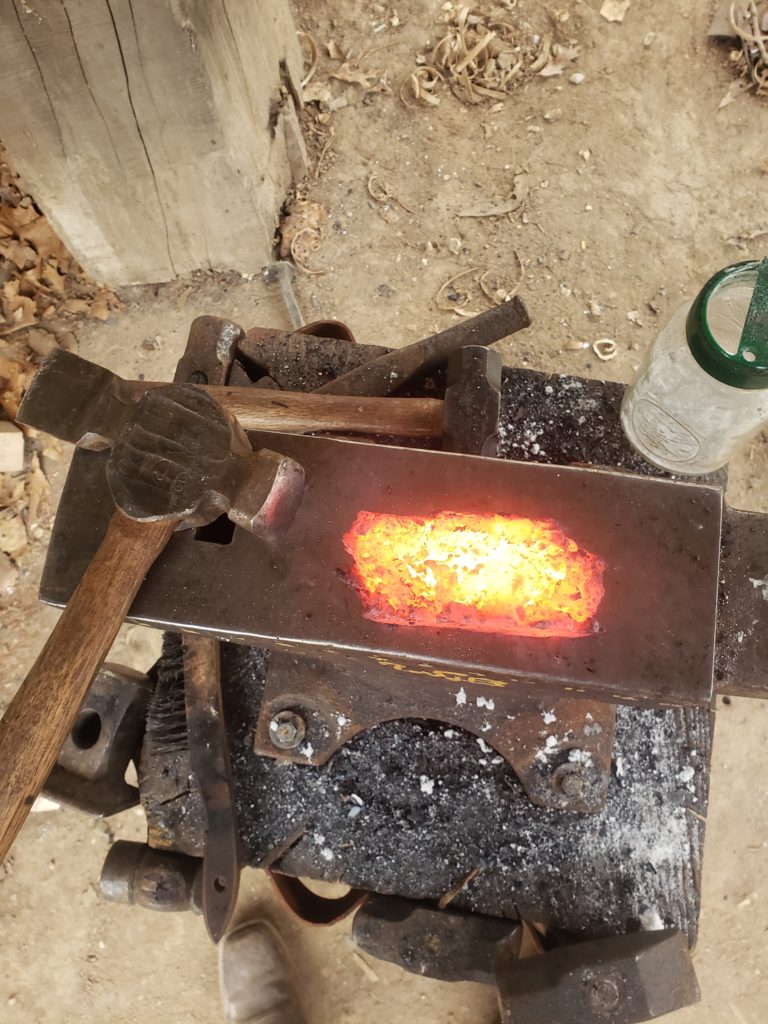
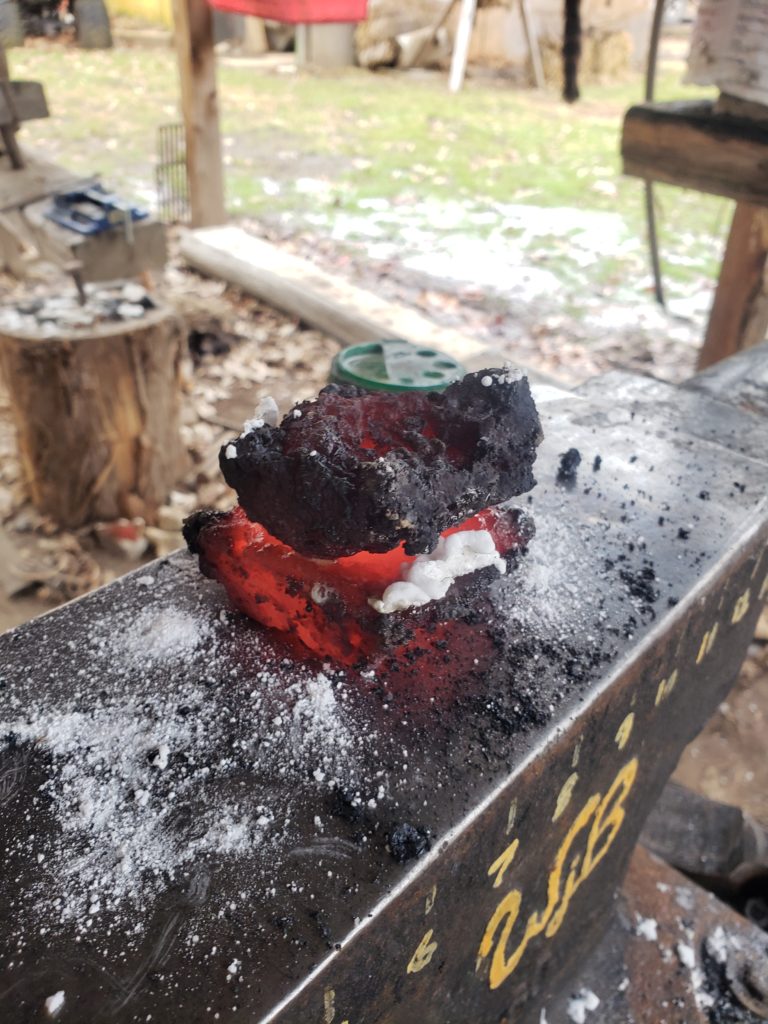
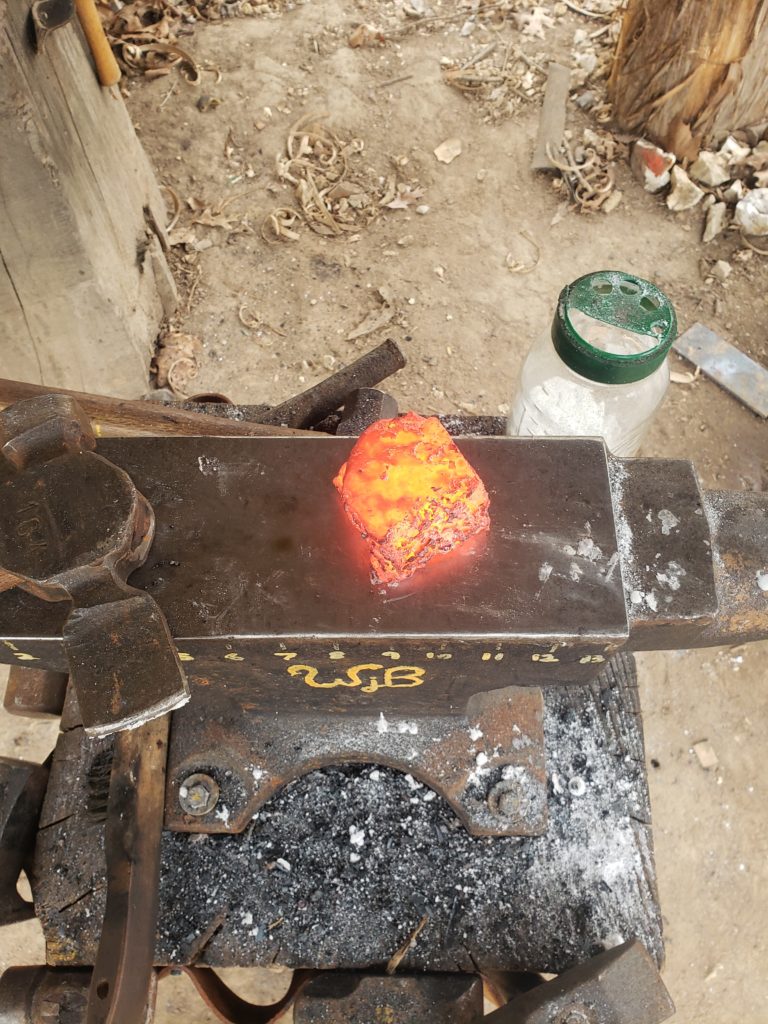
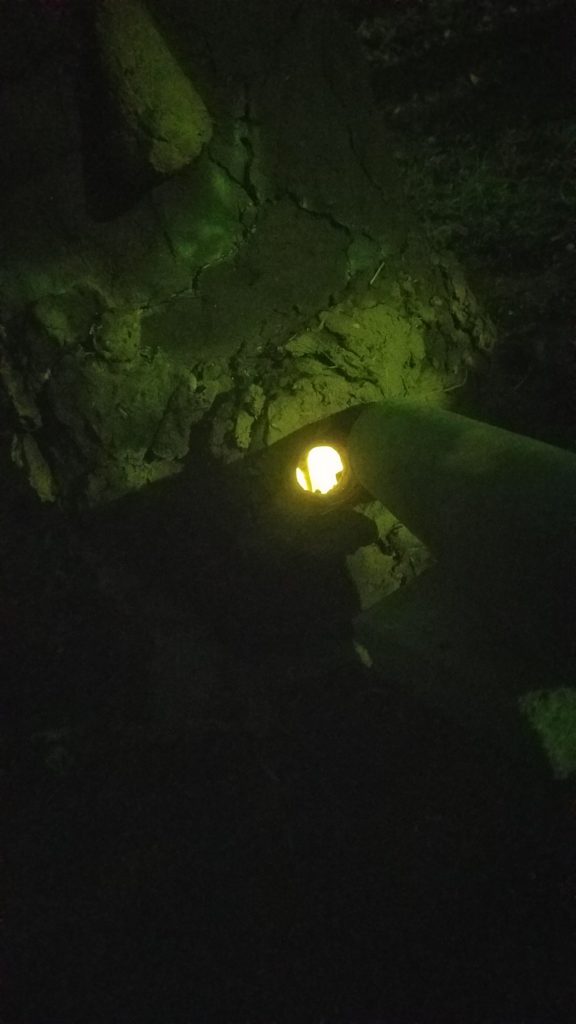
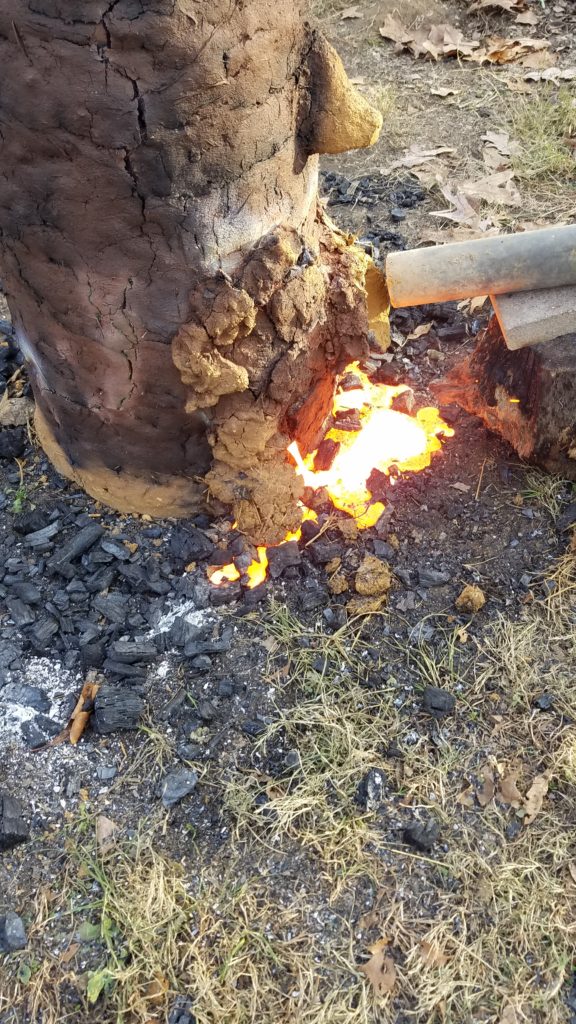
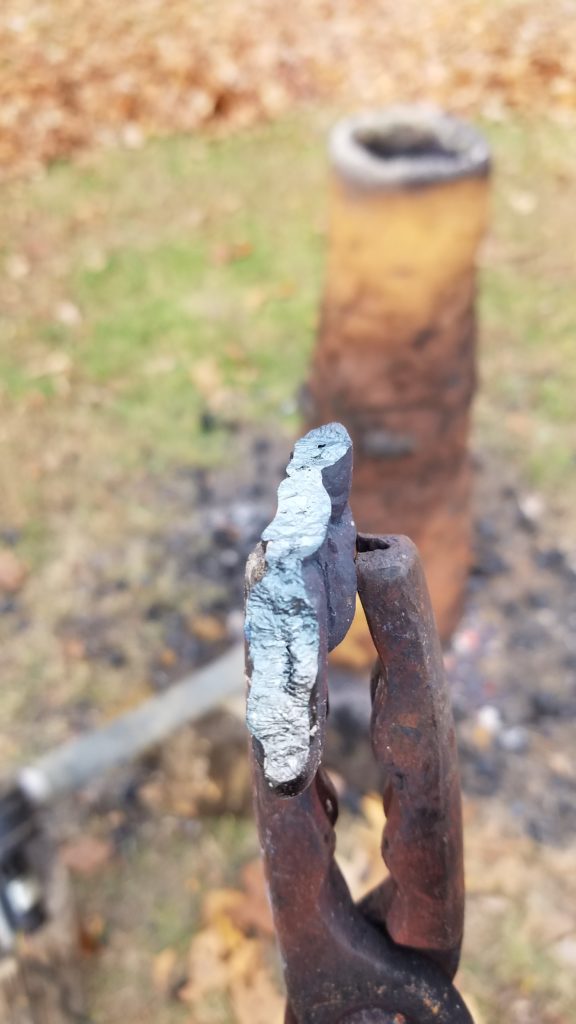
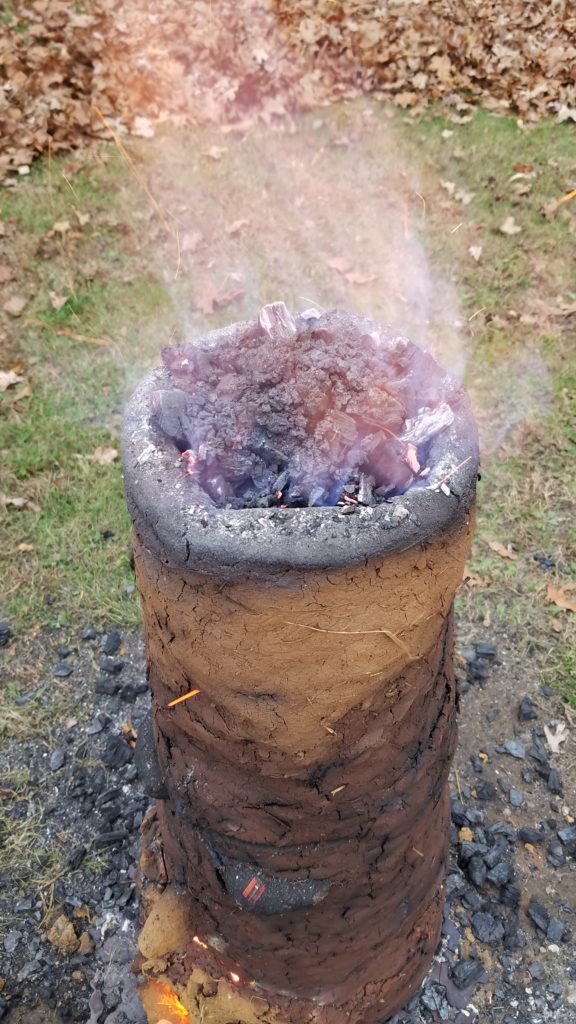
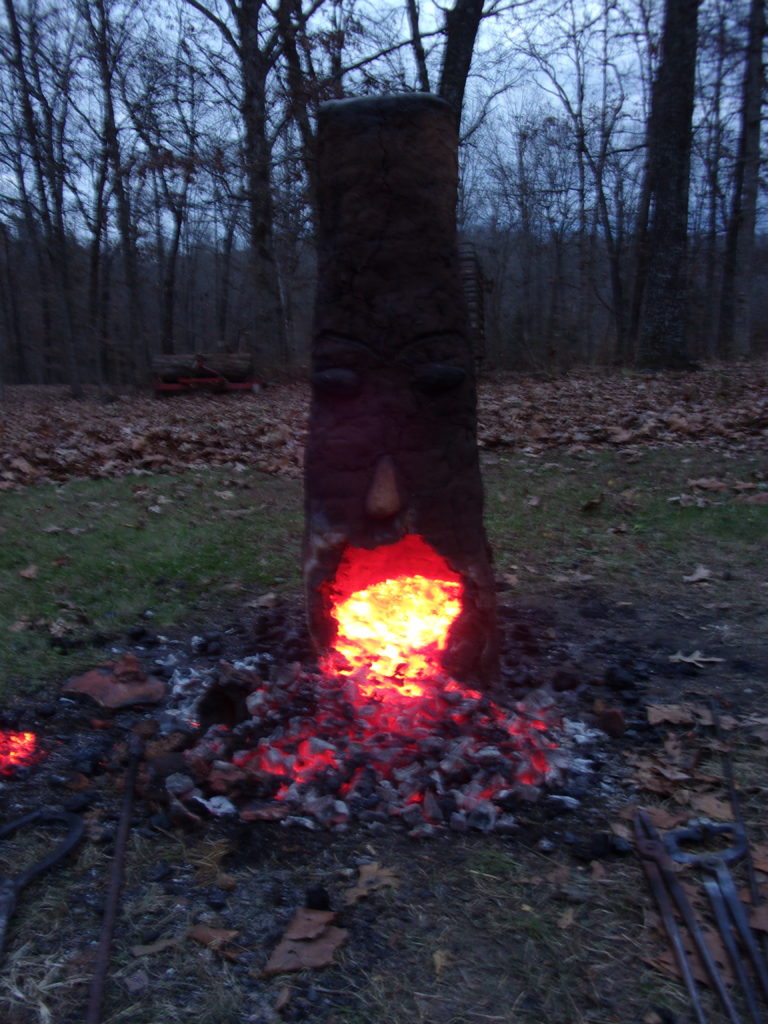
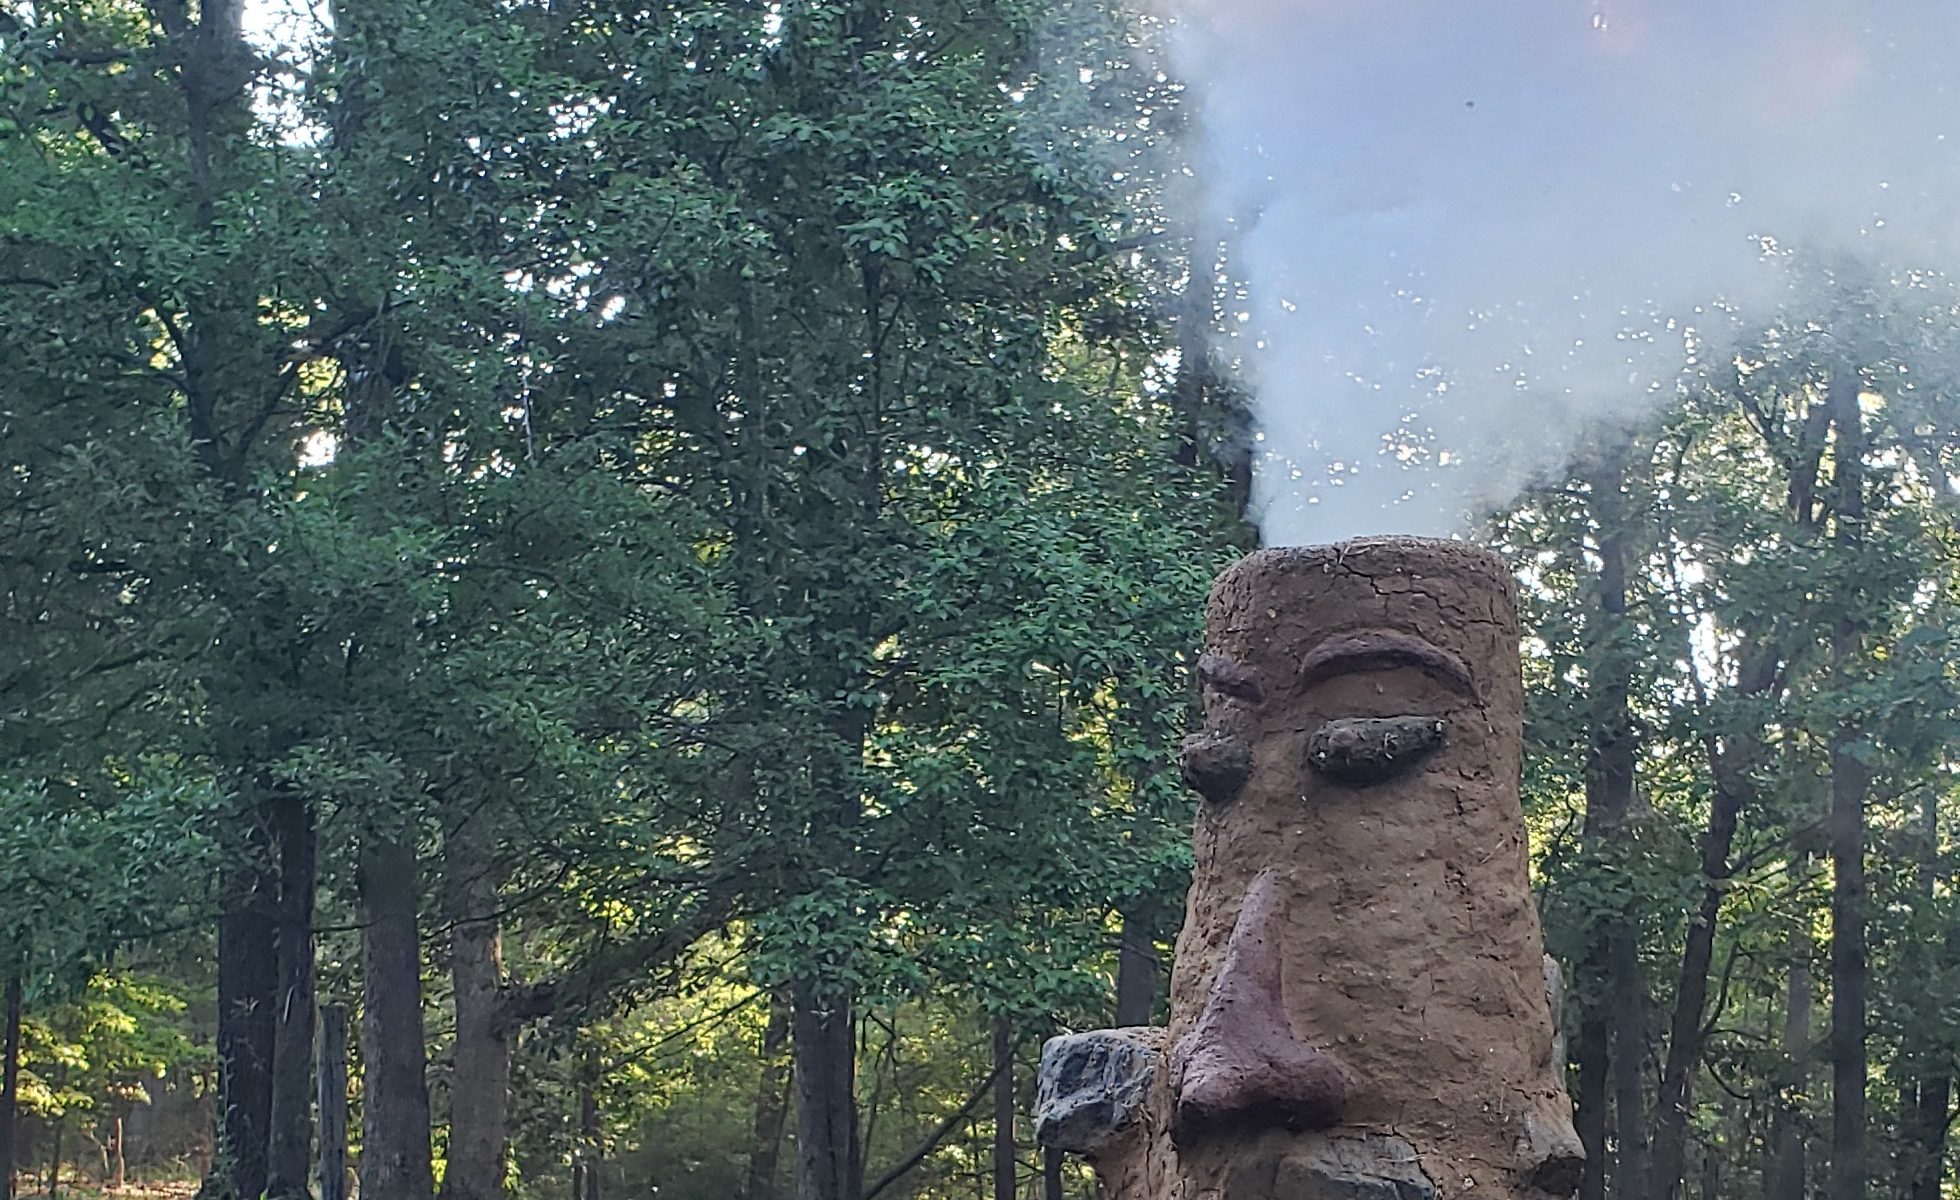
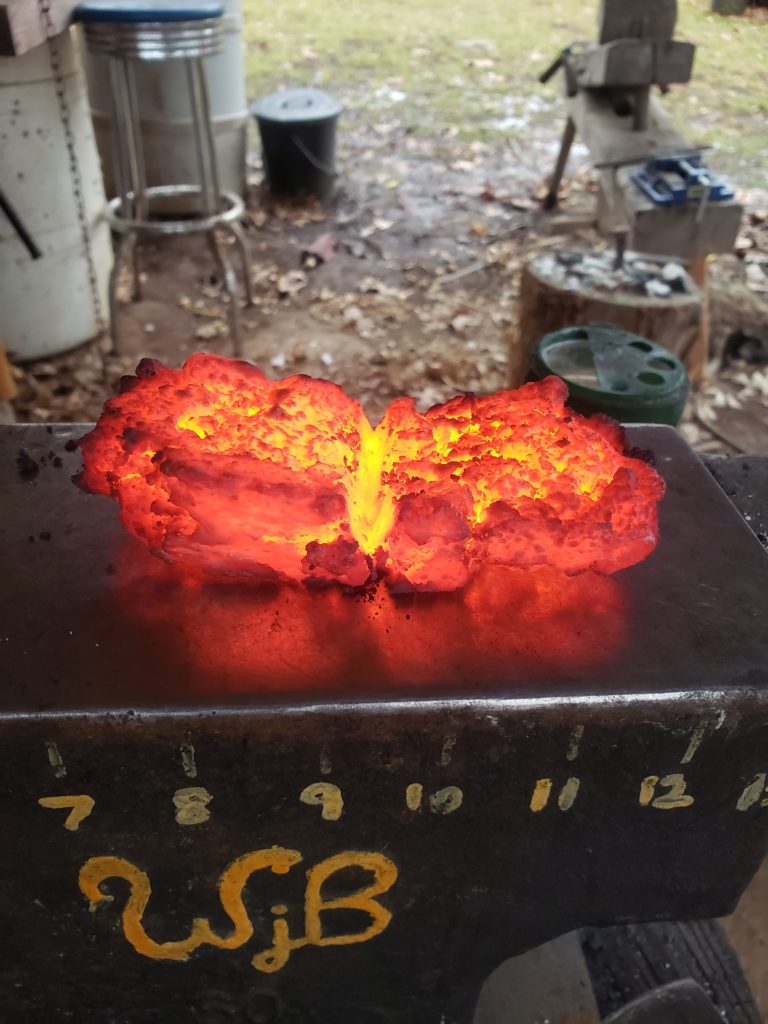
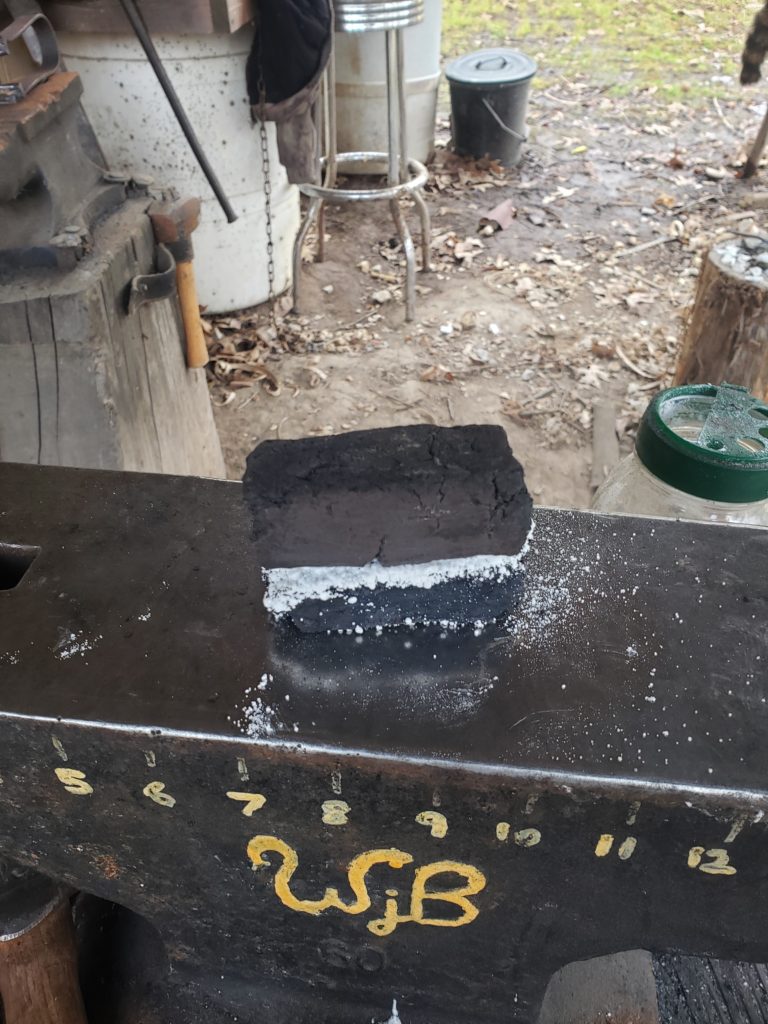
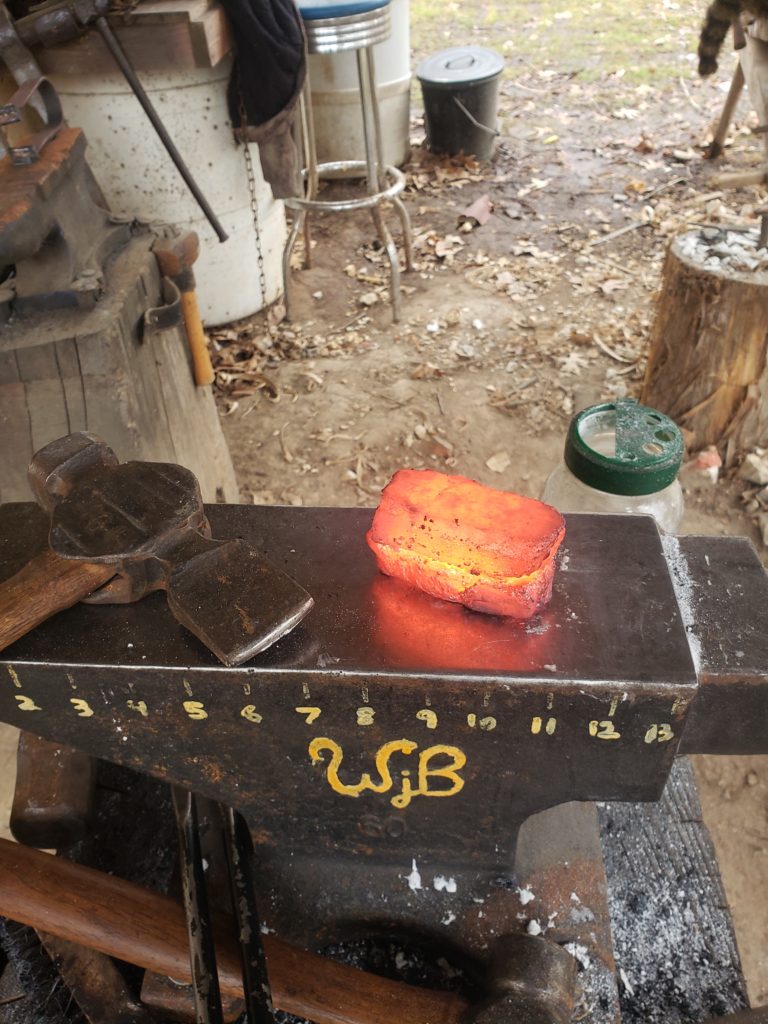
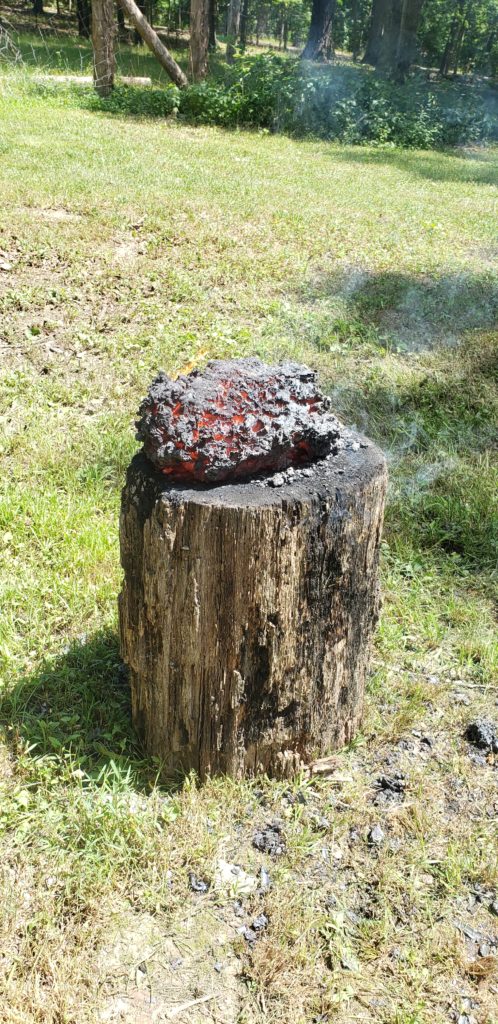
The basic principle is fairly simple, iron ore is charged, or feed into the top of a furnace along with charcoal, which is used as a fuel source, at a predetermined ratio. This process is continued until the ore or fuel source is depleted and the furnace is shut down and the iron is extracted. Since iron ore is a form of iron oxide mixed with various other minerals. The job of the furnace is to heat the iron ore to a temperature that melts out the impurities, which flow to the bottom of the furnace and is known as slag, and reduce the iron oxides into usable iron. The oxides are reduce to iron by the reducing agent known carbon monoxide. Since you’re burning charcoal as fuel they’ll be no short supply of carbon monoxide. As the ore moves further down the furnace it increases in temperature melting out the slag and is further reduced until it reaches the bottom where with luck it meets up more iron and slag. Now in a bloomery furnace the iron never melts, instead its at a near liquid heat. Once it reaches the bottom, which is the hottest point, it will stick to other pieces of iron and form a spongy mass of slag and iron which is known as a bloom. At the very end of the smelt the side of the furnace is breached and a bloom its birthed. While it is still hot it is compacted slightly to make use of its residual heat. After it has cooled it’ll still need to be refined by forging, folding and welding it back to itself. This part of the process will take just as long as the smelt did especially if done by hand.
I’ll go over furnace operations and working the bloom more in their related post to come but for now, you’ve got an understanding of how the furnace works so let’s jump into the next section.
Raw Materials
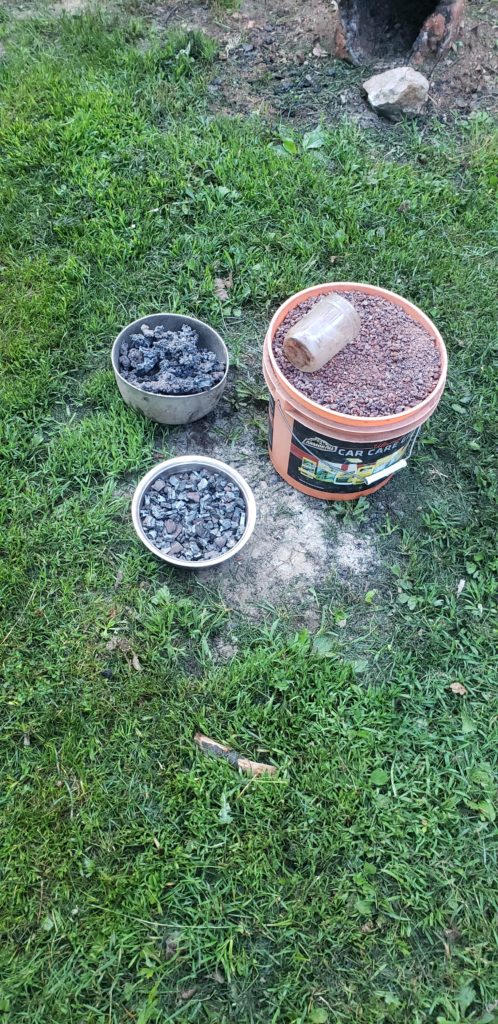
Iron ore
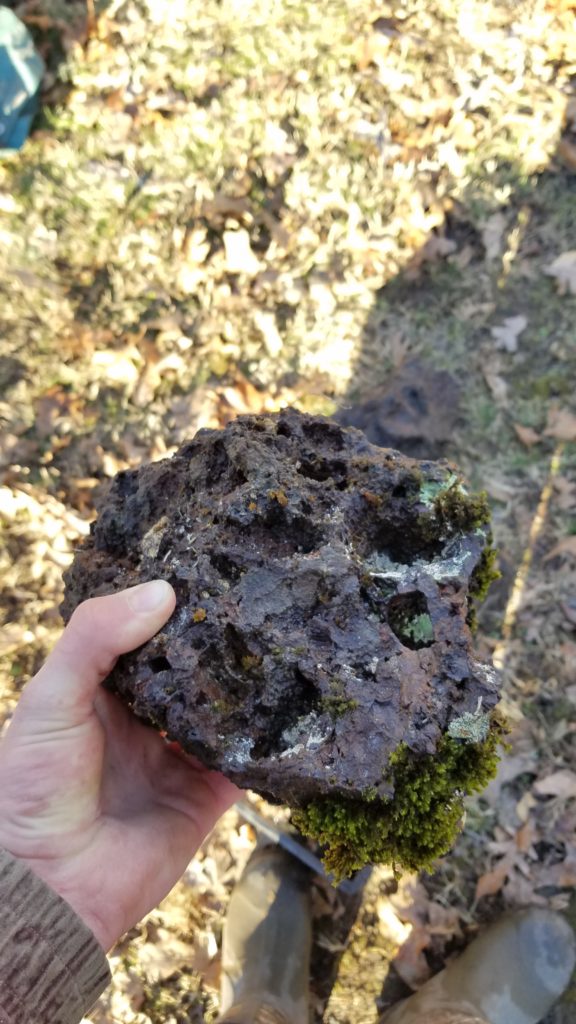
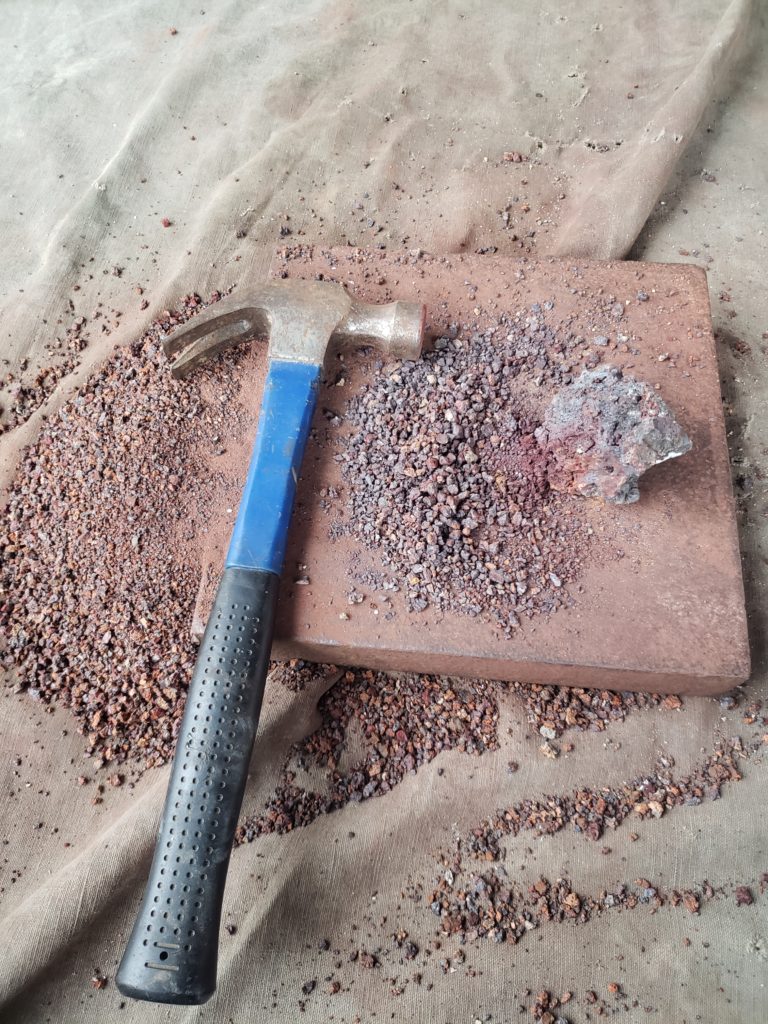
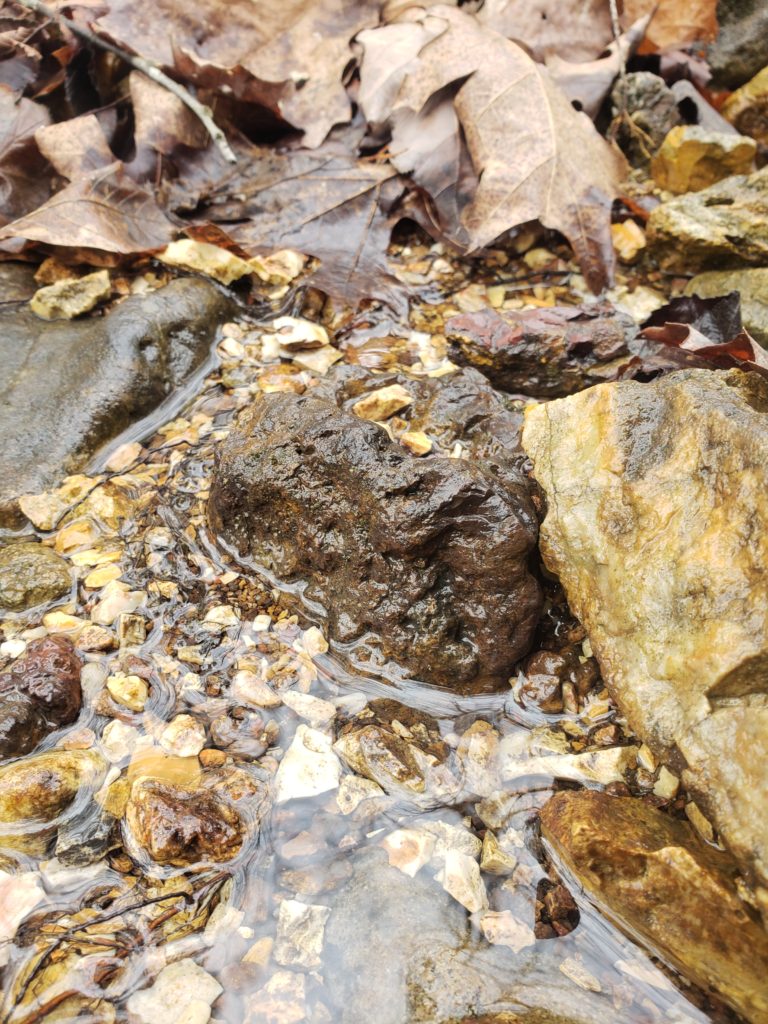
First and basically most importantly is iron ore. Without it there is no iron smelting. Iron is one of the most abundant elements in the Earth’s crust and has been manipulated by mankind for thousands of years. Since I’m no geologists I will not go into the different kinds of iron ore and their properties, but, most types of ores are easily recognizeable by their rusty brown color with the exception of exceptionally rich hematites which tend to be more of a metallic gray. If you are to do any smelting you’ll need a healthy source of ore of reasonable quality. A quick and dirty test to determine the iron content of your ore is to simply pick it up and examine it. If its relatively free of
 impurities(such as different types of rock or minerals clinging on) and you struggle to pick up a piece the size of a loaf of bread then you know its iron content if pretty high. However, if a similar sized piece can easily be picked up one handed the its a pretty good bet it has a lower iron content. Now you’ll be looking for an ore that has a decent iron content, but also is easily separated from its slag, but more on that later.
A good place to start looking for an ore source are creeks. If you can find a suitable ore in a creek then collect what you need or can and once pickin’s grow slim begin heading upstream, being sure to wonder the surrounding hillsides of the watershed looking for the source.
As aforementioned, your looking for an ore that has a good iron content but is easily separated from and produces a nice fluid free flowing slag through the smelting process. It’s not necessarily possible to tell without running a test batch, but as a general rule the lesser quality ores are going to produce more slag and yield a lesser quantity of iron and richer ore will yield the opposite. More iron less slag. The problem with some high quality ores is that sometimes they don’t produce enough slag and a fluxing agent is necessary. Personally I have never been faced with that problem so I will not indulge any deeper into that aspect. Furthermore, while in theory its possible to use iron pyrites I would keep my distance. The sulfur in the iron sulfides would be nearly impossible to remove from the iron resulting in a brittle bloom and heartbreak.
Clay
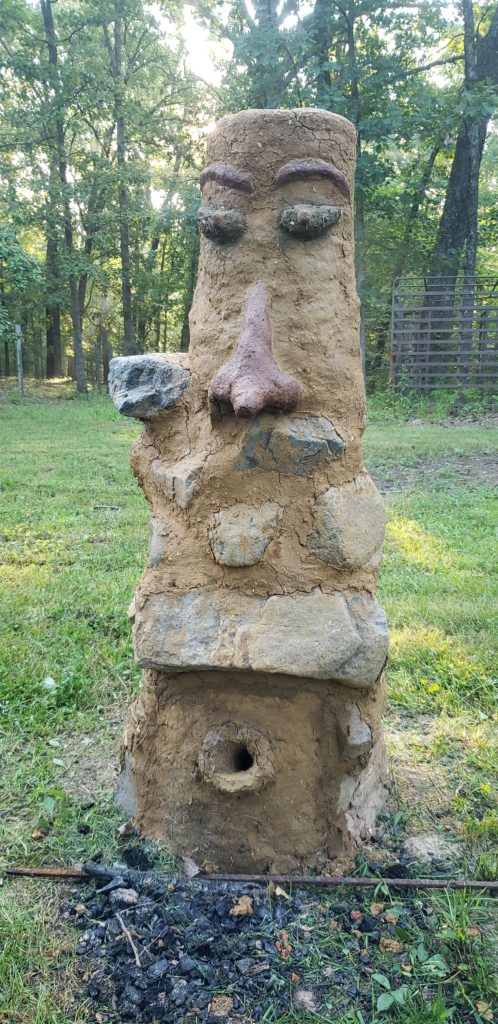
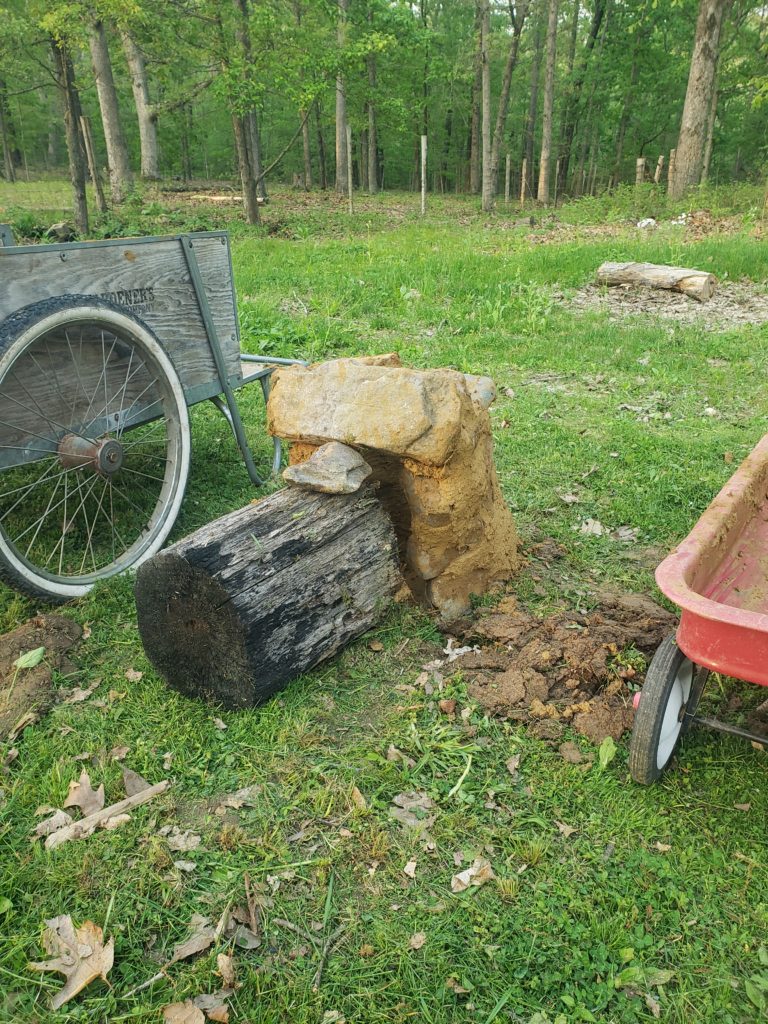
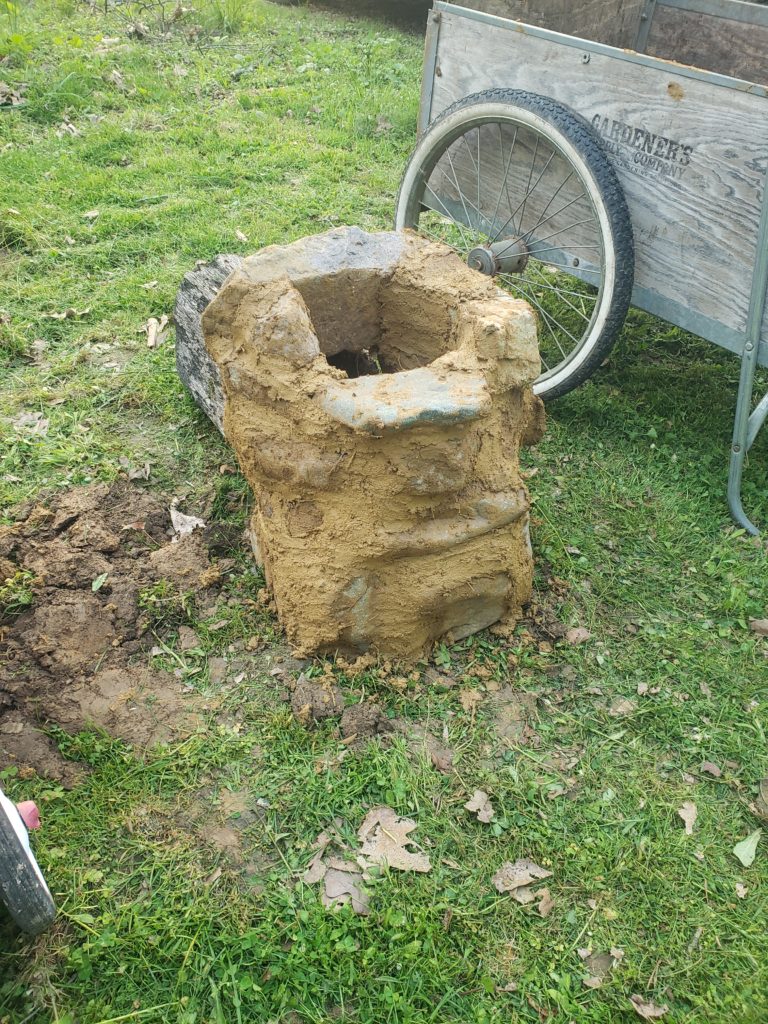
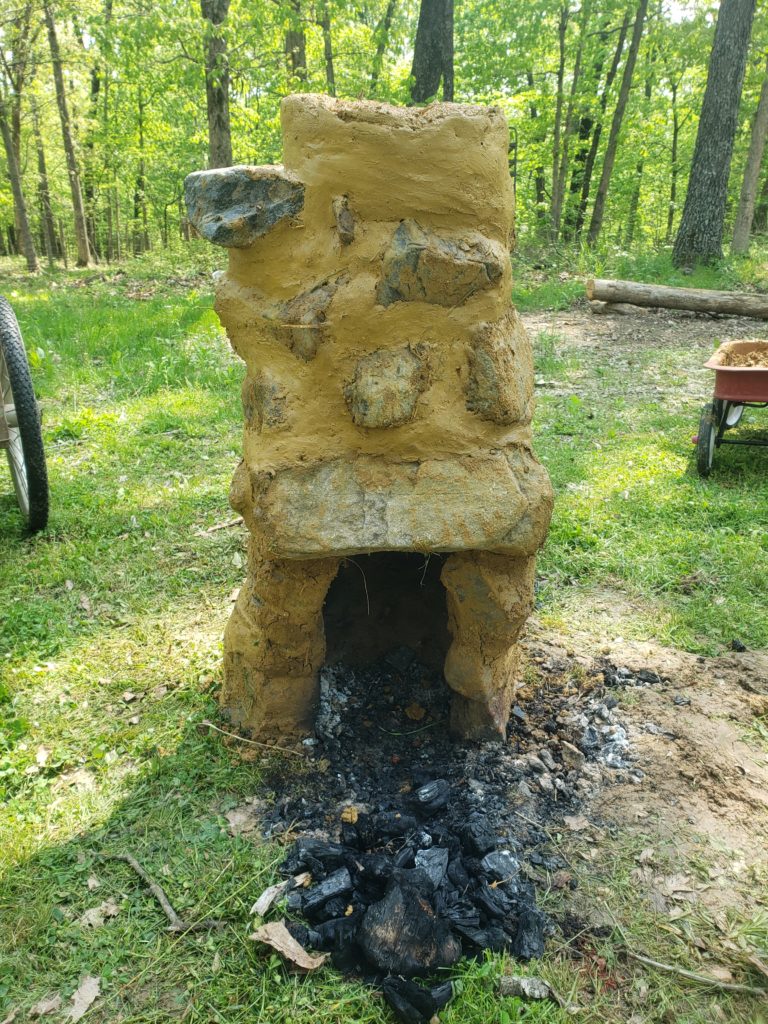
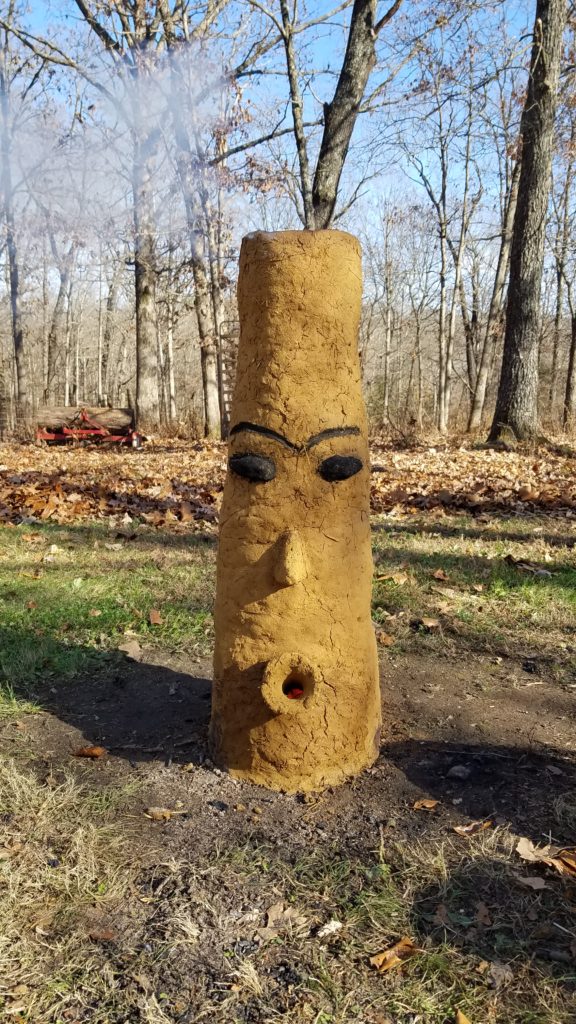
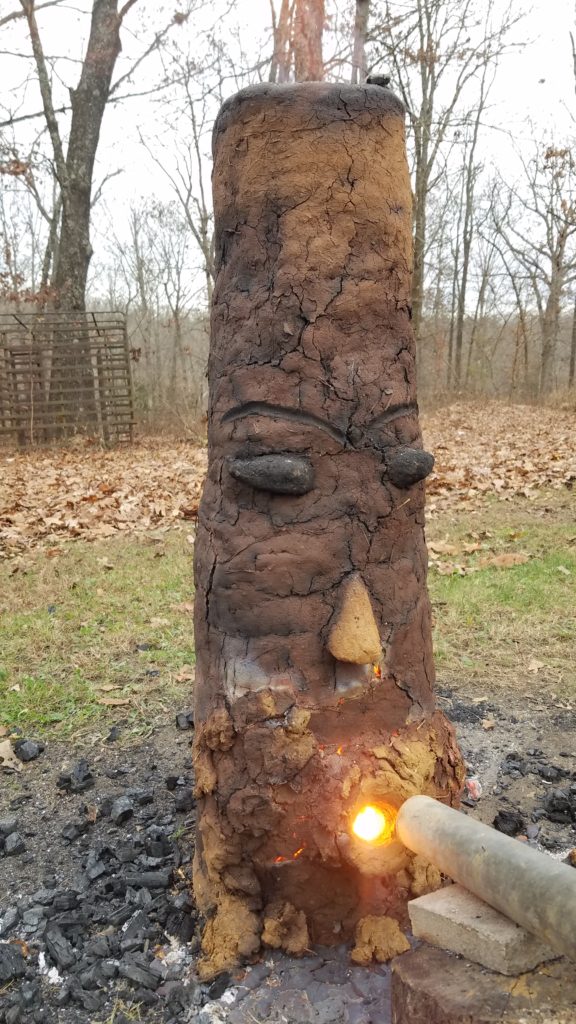
Next we have clay. I’m taking into the account the historical side of bloomery smelting in which a clay furnace shaft is used. While it looks cool, it’s not necessarily and for the commoner there’s a multitude of different materials to be used. The scientific guru with deep pockets may wish to use modern refractories to build his furnace. And while this is the best way to create a permanent furnace that delivers dependable, predictable results it seems like sacrament to me to be practicing such an ancient art with such modern equipment. Stone or even red brick may also be used. When using stone make sure you pick a fire hardy rock like granite for the lower portion of the shaft as no mater what construction method you use it will still have to contain the heat of Hell without melting away.
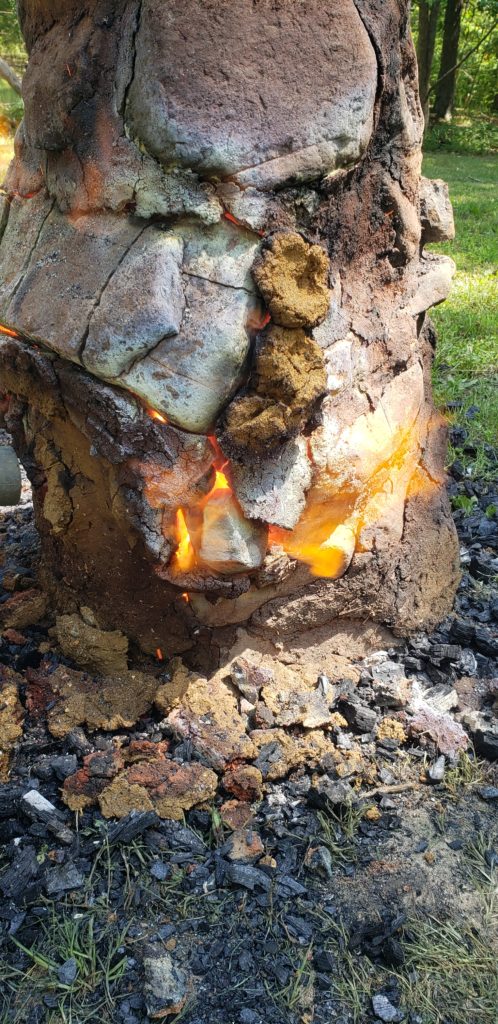
Since I only have experience in clay and partial stone, that’s all I’ll cover in these writings.
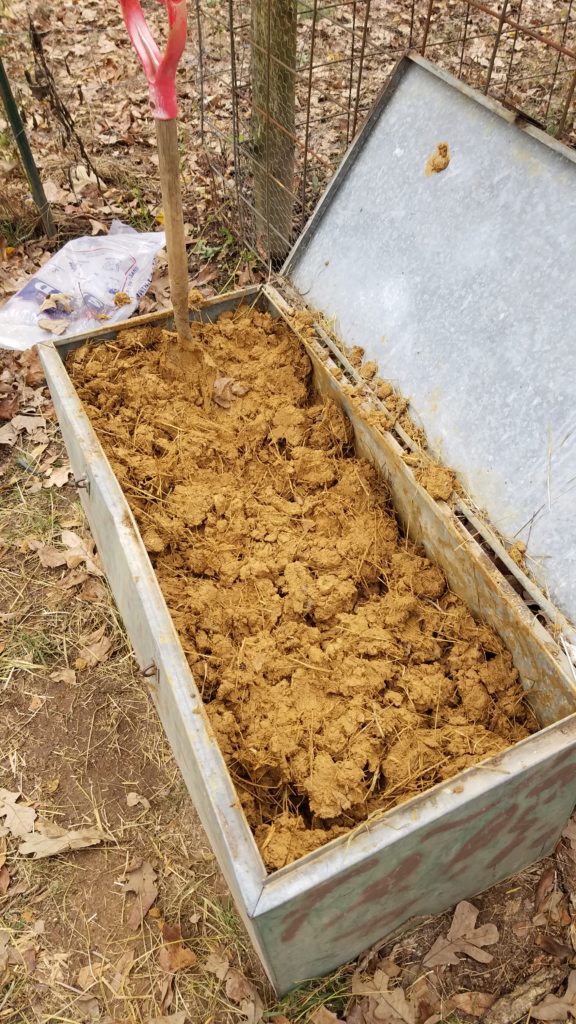
If you choose to use clay to build your furnace then you will need to accumulate a copious about of the muck. Should you live in Southeastern Missouri like myself then you will have no problem finding a solid source of clay, simply peal back the crabgrass and flint rock and ta-da! 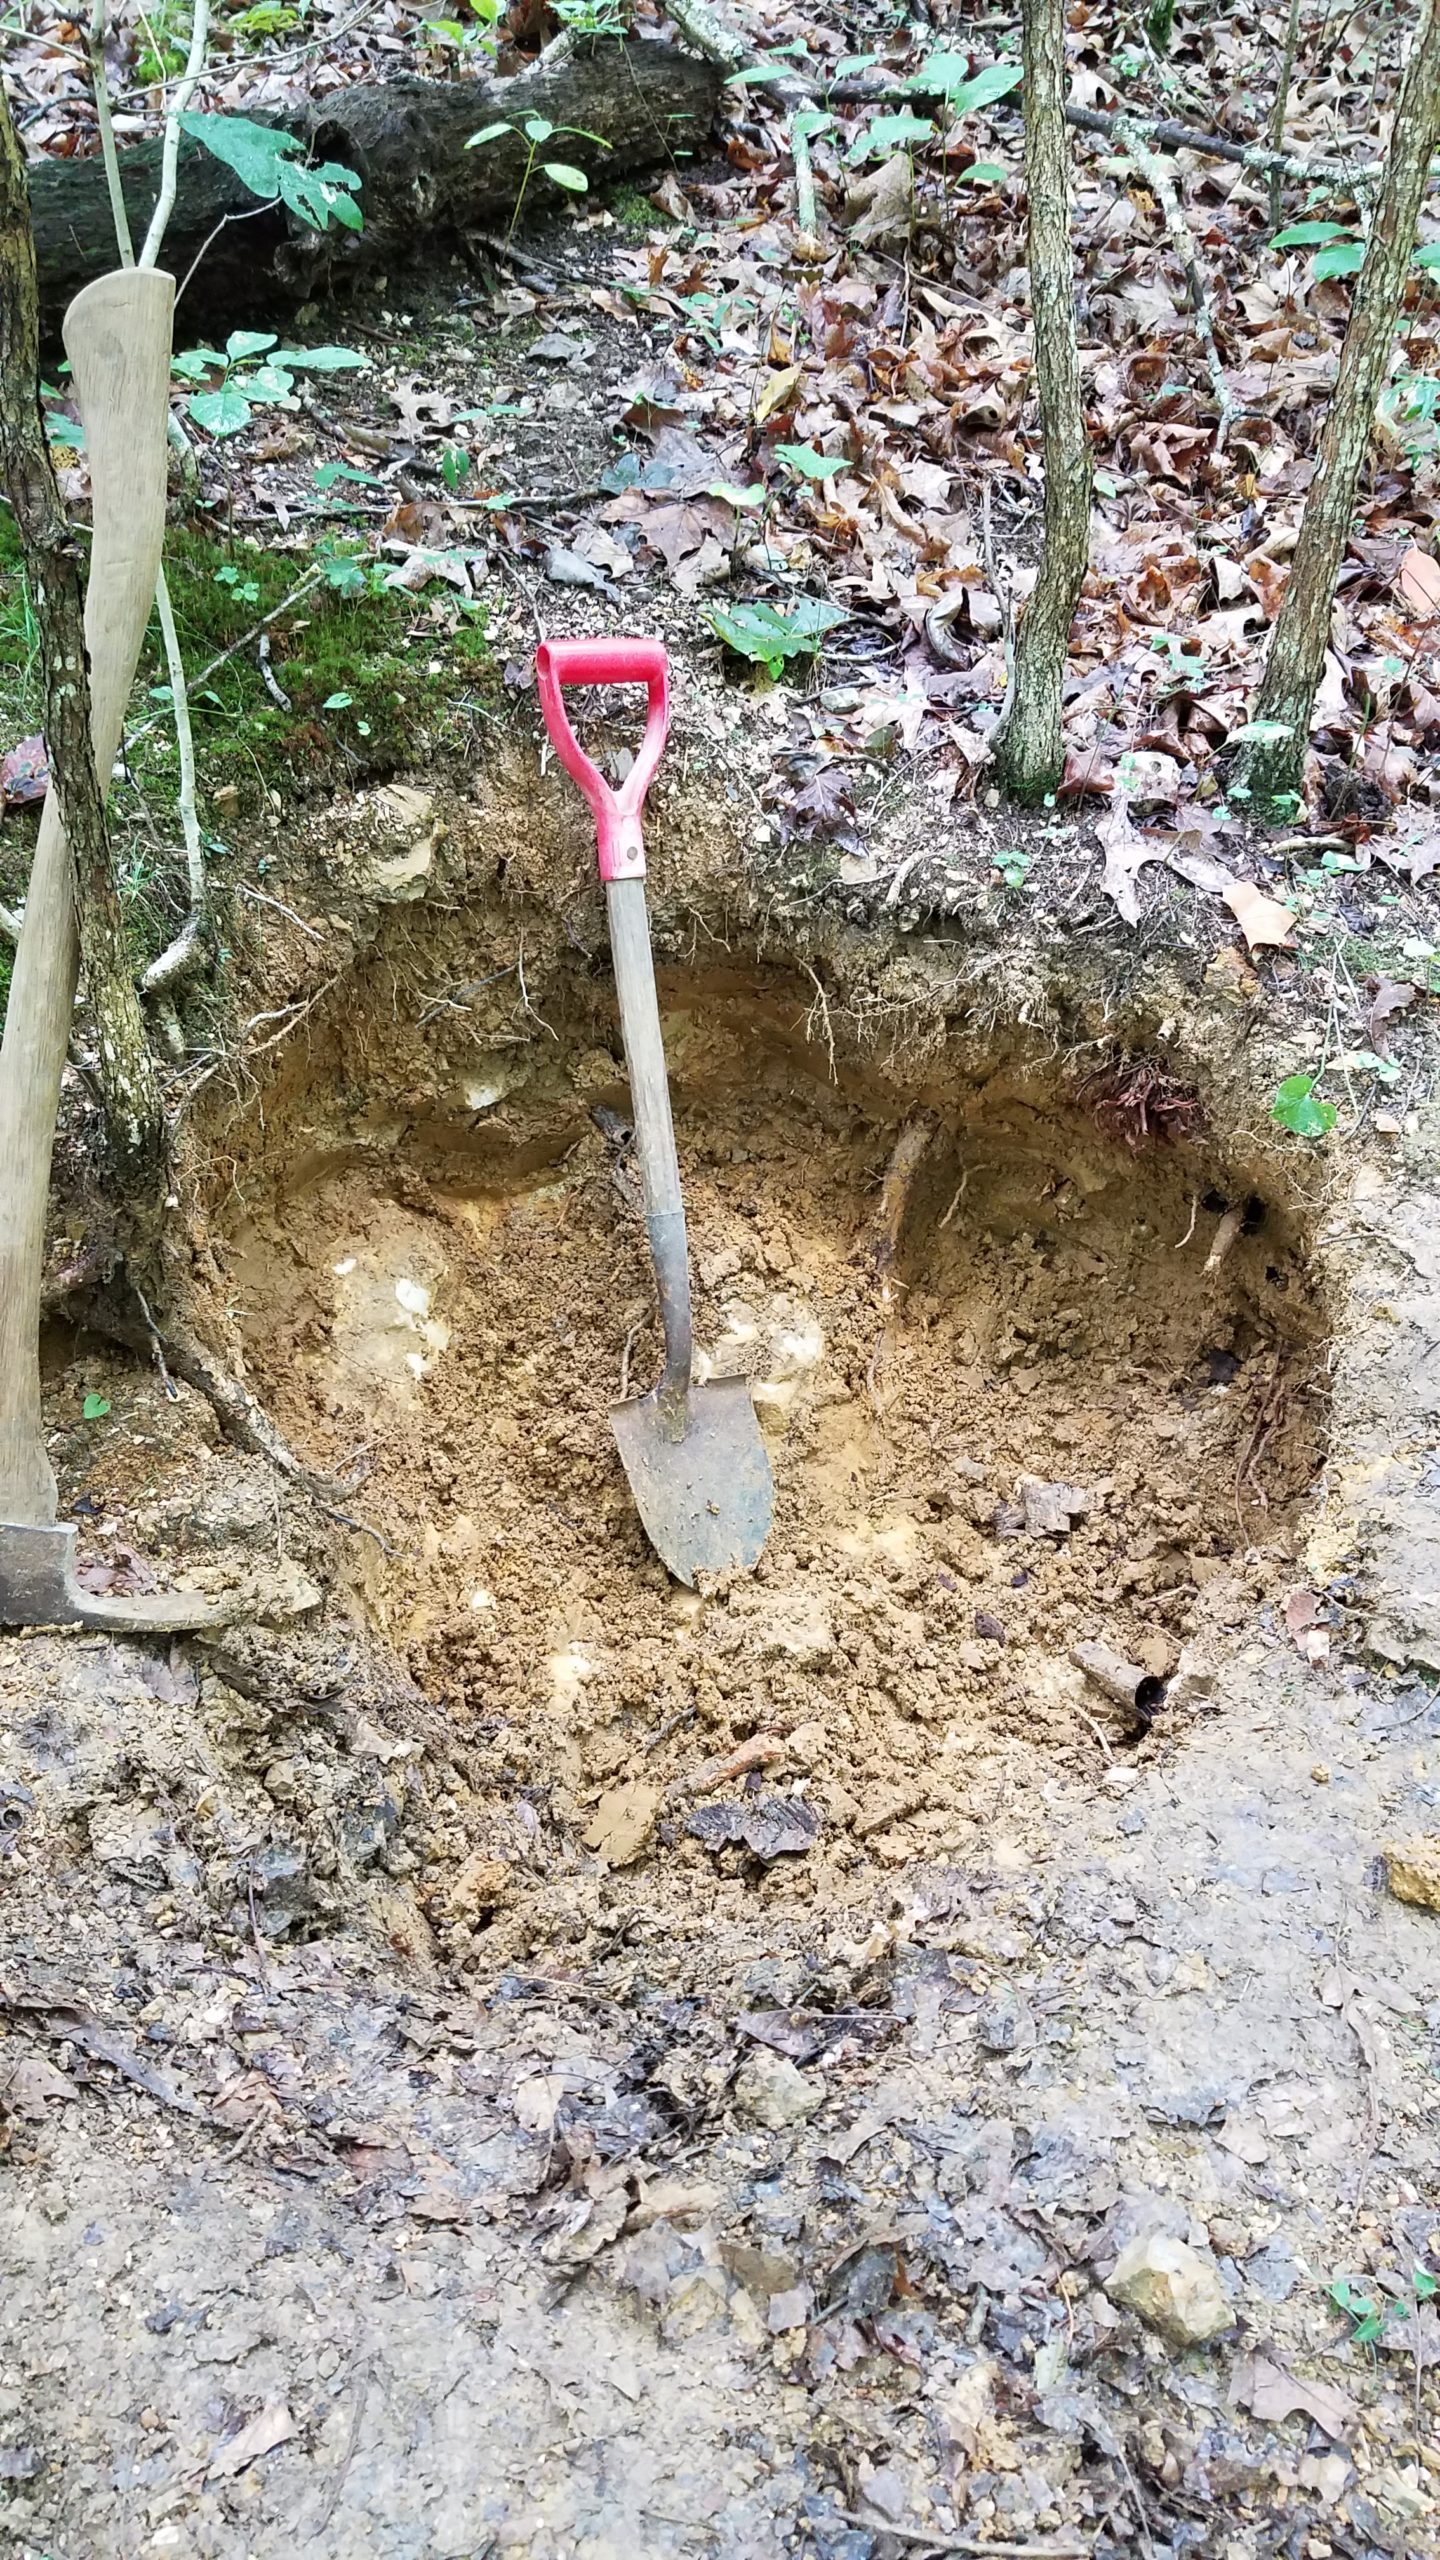 My ‘clay pit’ was once a abandoned groundhog burrow that I dug out. Should you not be fortunate enough to have readily available clay deposits near by then your best bet is to either drive around until you find a construction site that is having a basement or deep footings dug (if you bring cold beer or tasty food then chances are you’ll get all you want) or call a pottery shop and tell them what you are planning on doing and they’ll point you in the right direction. Remember it’ll need to be able to withstand 2400°F plus for hours. If you dig it yourself then look for the good light brown or red stuff. Try to stay away from the blueish gray kind as it tends to have a fairly low melting point. Also the cleaner the better. I know that sounds silly, how can dirt be clean? By clean I mean aggregate free, the fewer the small rocks the better and try to pick out chunks of roots and the like as they’re not needed.
Sand
Now that you’ve got plenty of clay you need some sand and lots of it. Ideally about the same about of sand as clay by weight if not more. Since you’re not going to be making fine earthen ware there’s no reason to skimp out on the sand. Sand is cheap and I often choose to buy it by the 50 pound bag. Regular play or building sand will suffice. If you choose to dig it yourself make sure its a nice quartz based sand. Since quartz melts around 3000 degrees, by adding a healthy about to the clay you’re actually increasing your furnaces heat resistance. It also acts as a form of temper to strengthen the furnace and keep the walls from cracking since sand doesn’t absorb water and therefore cannot shrink.
While on that subject….
You may also wish to add an organic temper such as hay or straw. I frequently use hay in my clay, since we have livestock there’s plenty of it on hand.
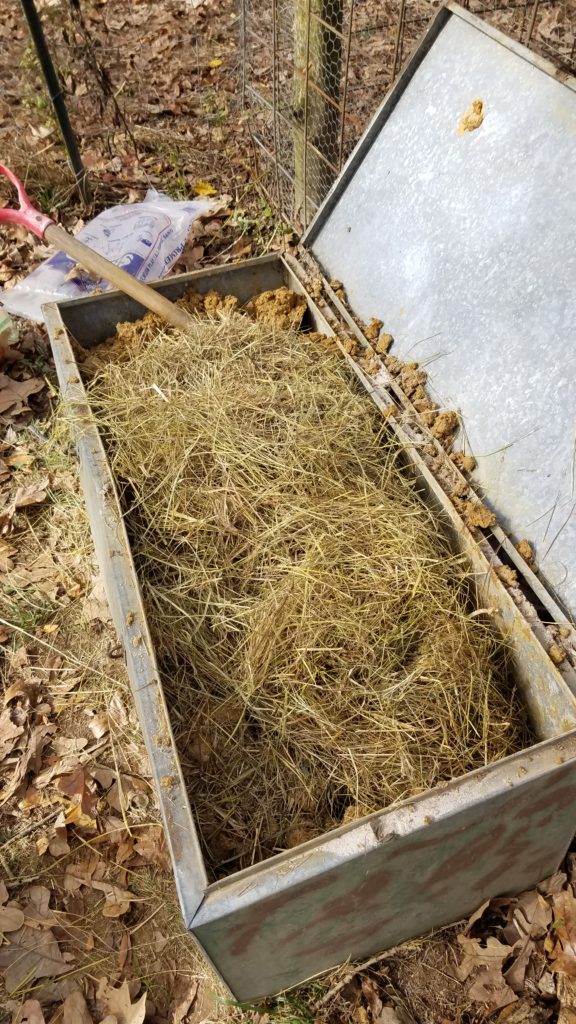
There’s no set amount that should be added, so just mix in what you see fit. A word to the wise though, do make sure you add any organic temper last as it’ll make mixing in the sand quite difficult.
Charcoal
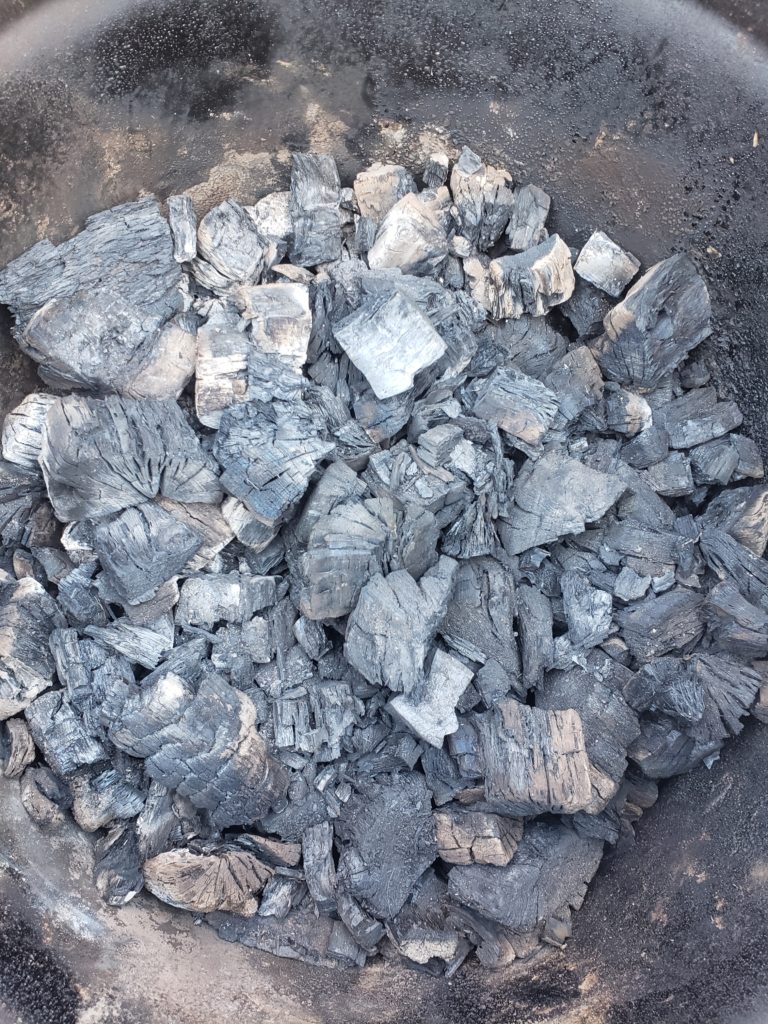
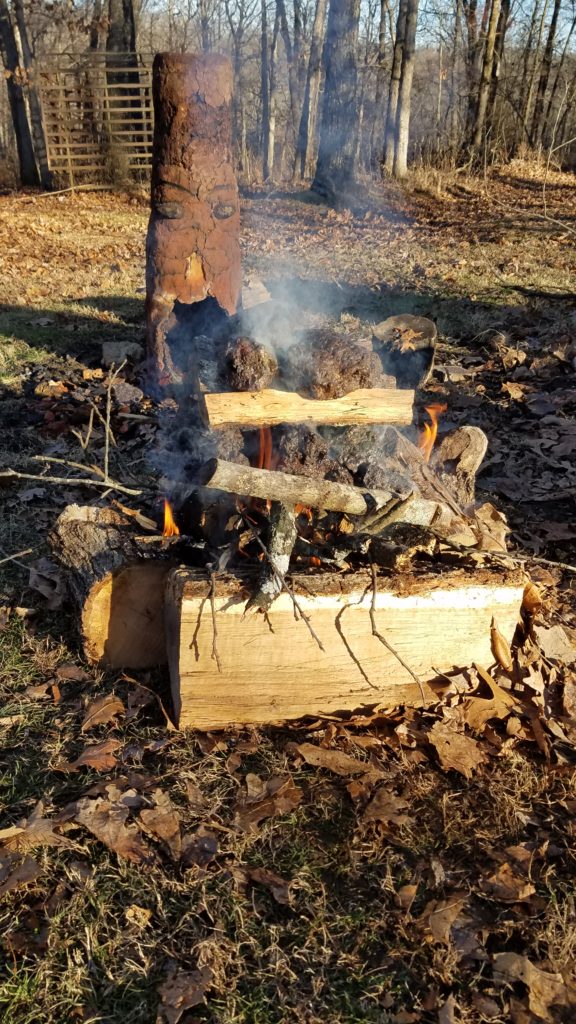
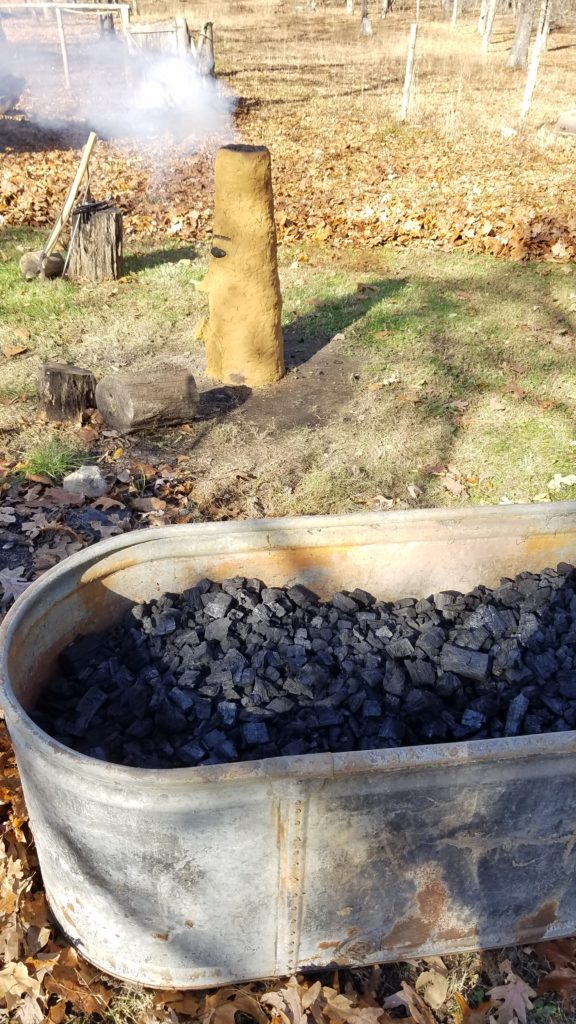
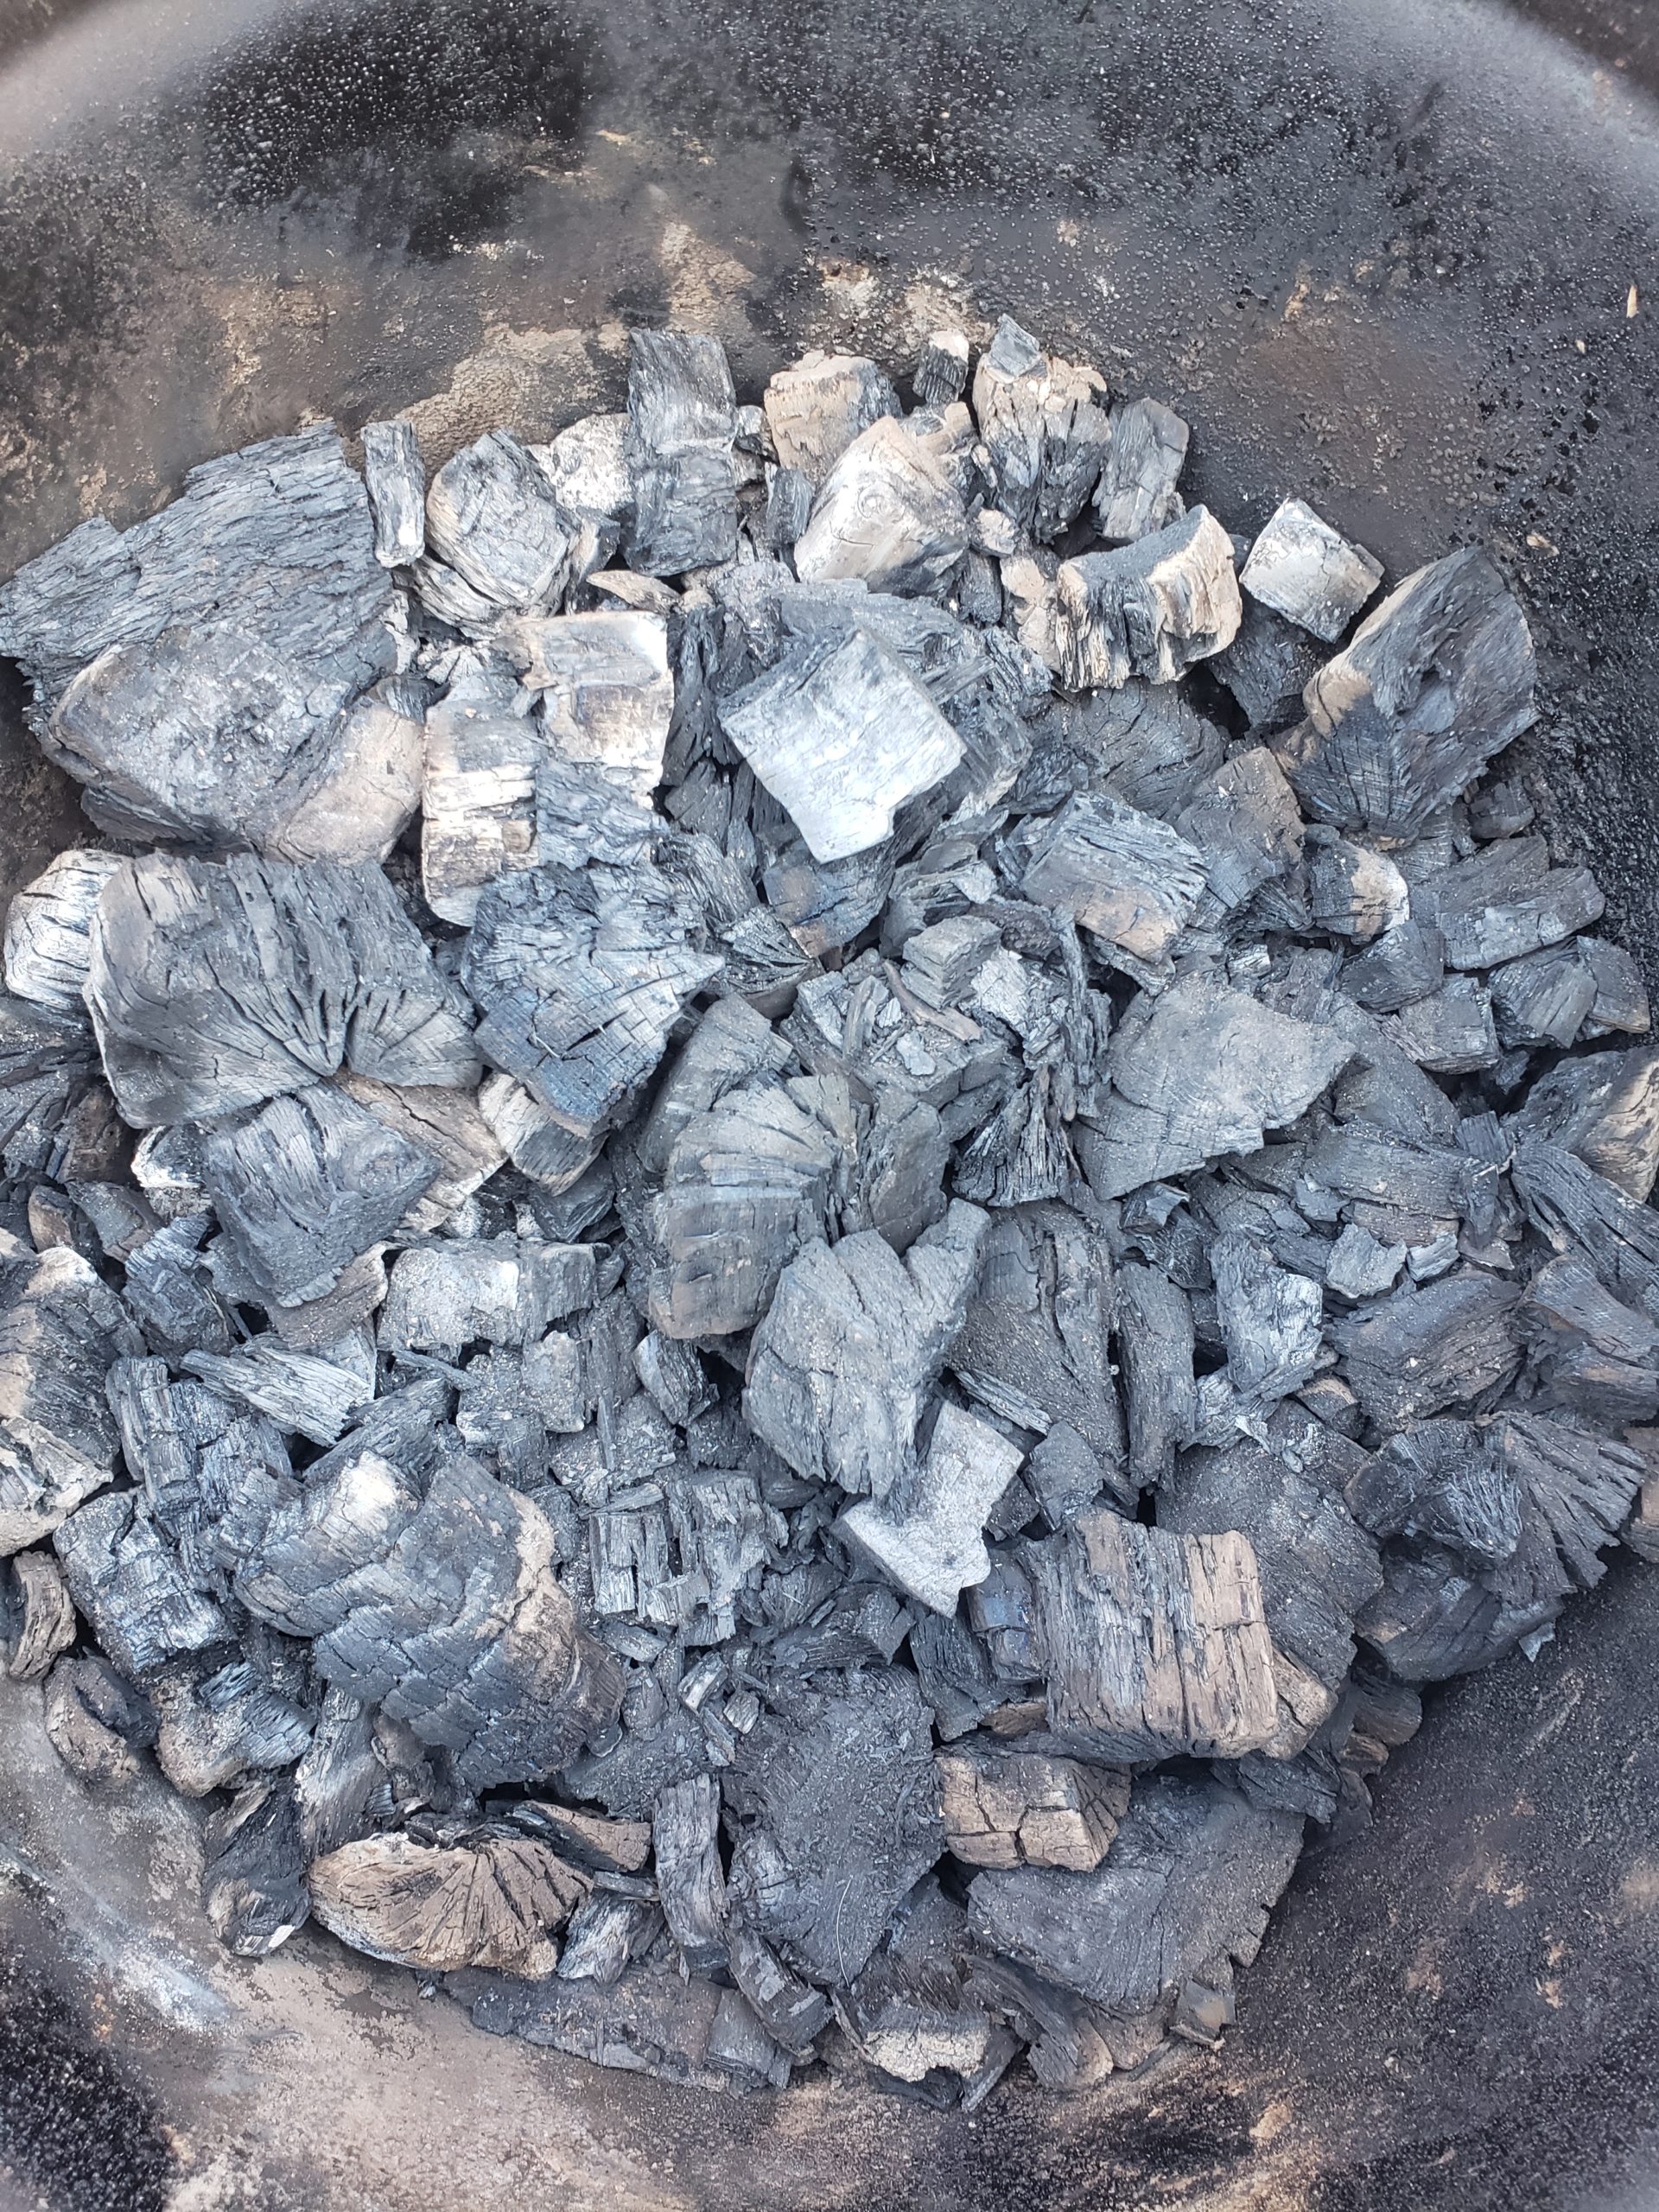
You’ll need a fuel source to heat your iron ore up to reducing temperatures and what better to do that than charcoal. Charcoal is a almost pure form of carbon made by burning wood in an oxygen poor environment. I choose to make my own charcoal to smelt and forge with and encourage you as well if you have the resources. In my region we were unfortunate enough to have a blight kill approximately 20% of our oak trees about 10 years ago and now with the emerald ash borer our ash trees have been decimated, so we’re in no shortage of dead timber. If you also have access to plenty of dead trees and are willing to put forth a little extra effort then making your own charcoal is quite simple. There’s many different ways to make charcoal at home, but I’ll only cover the way I do it.
You’ll first need a large steel barrel, a 55 gallon drum works great. I use one that was once full of Hershey’s chocolate. Ideally if you use a drum it’ll also have a lid but if not a flat piece of steel will do. You’ll want to drill/punch/shoot some approximately one half inch holes in the bottom for airflow and then set the drum up on bricks so that air can be drawn underneath and through the holes.
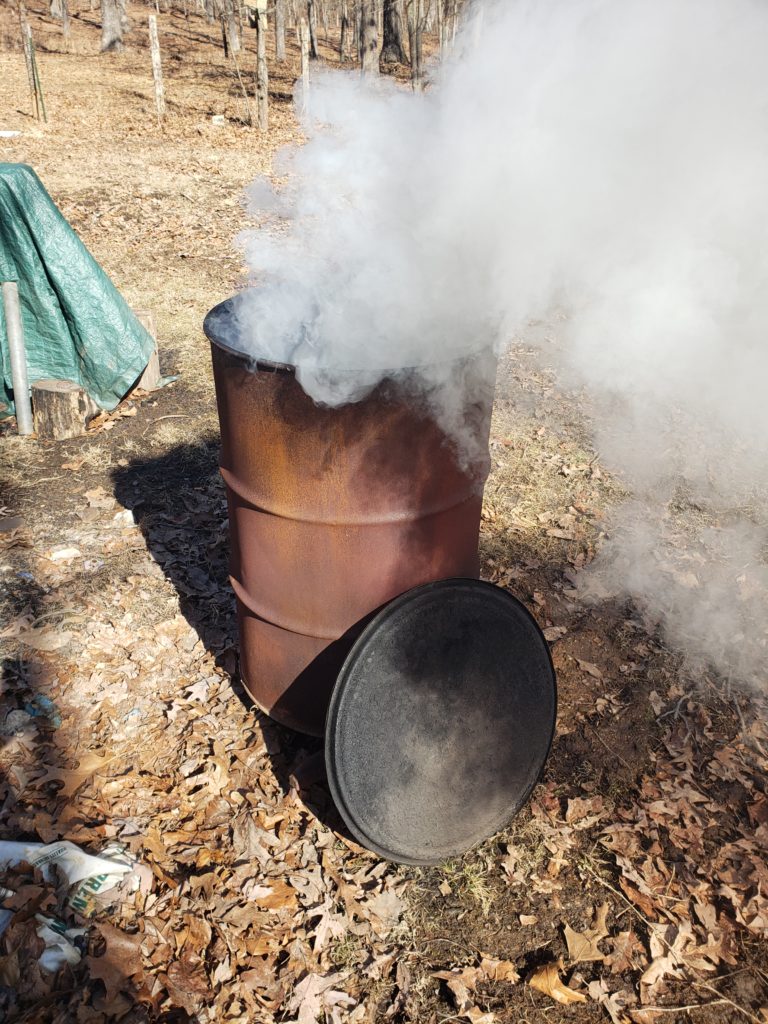
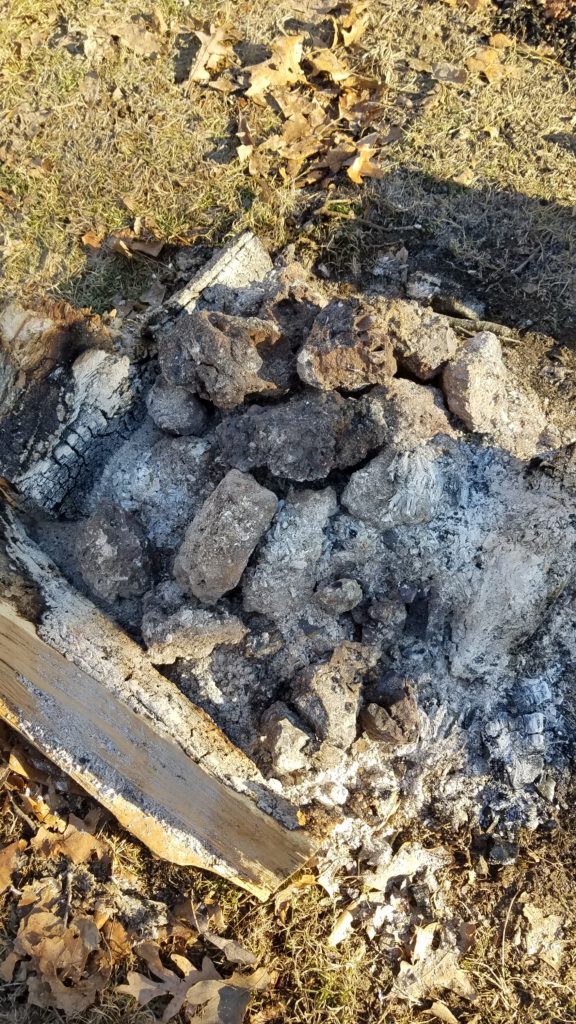
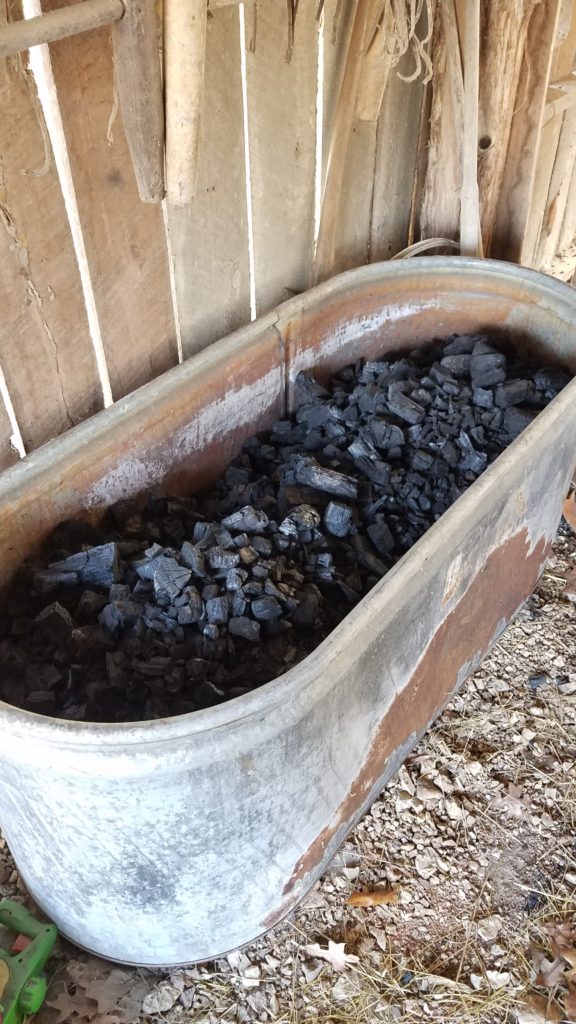
Next cut and split some dry hardwood, I use oak, and start a small fire in the bottom. Once its caught start adding more wood until the drum is full and let it burn for a while. Once the smoke starts to turn from white to blue its time to start restricting its air. To do this, don some leather gloves and put the steel lid on about half way and continue to keep moving the lid further and further over the next few hours until the lid is eventually shut and roll the drum off the bricks and onto the ground (remember its hot!) and make sure it can’t draw air in through the bottom. As a general rule don’t open up the kiln for 12-24 hours to ensure that the charcoal doesn’t reignite. As with most things related to bloomery smelting there’s a learning process. Don’t be surprised if the first few times result in slightly chard wood or nothing but ash. There’s lots of information online that go into great detail on the charcoal making process, covering much more then I have. For those who don’t have the resources or time to make their own charcoal don’t fret lump hardwood charcoal, like Royal Oak, is usually easy to find in stores and reasonably priced. What you are not looking for are charcoal briquettes. Briquettes will not reach anywhere close to the temperature necessary, they’re meant for cooking not smelting.
Tools
One can never have too many tools. When it comes to iron smelting a handy blacksmith can make most if not all the tools necessary to cook some rock.
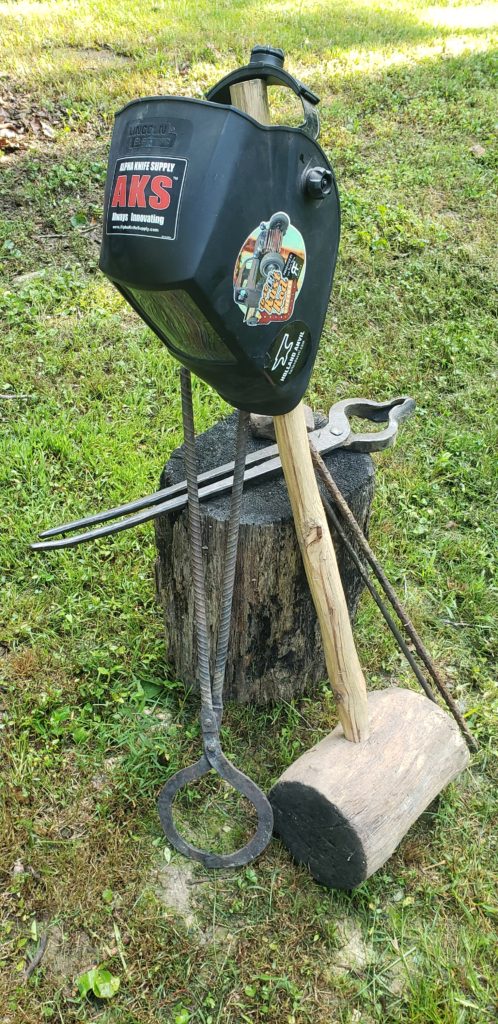
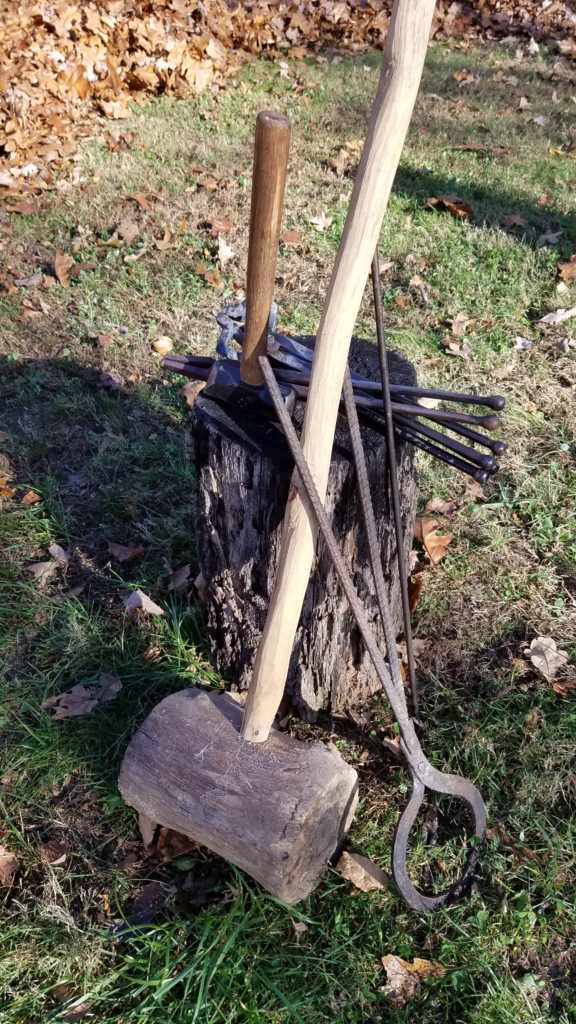
We’ll first discuss the all important bloom tongs.
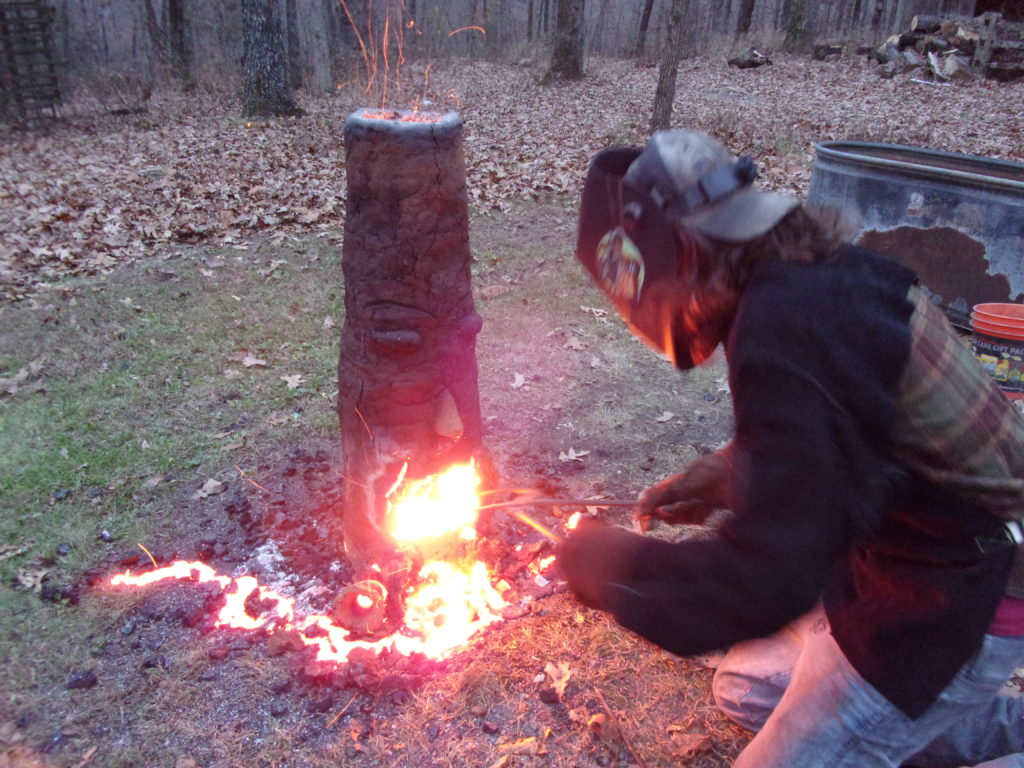
Since the bloom will be a toasty 2400-2500 degrees it will be best if its handled with a specialty type of tongs. For lack of a better word these tongs are called bloom tongs. These tongs are used to fetch the fully formed bloom from within the furnace after you’ve extinguished your ore supply. They also aid in manipulating the bloom during the consolidating process. They feature long handles, also called reigns, and large semicircle jaws. I made mine from steel in the scrap pile. The longer the reigns the better. The first time you use them it will be evident if they’re too short as you’ll begin to smell burning flesh and hair. The heat produced when the walls of the furnace are breached is like nothing you’ve ever experienced, there’s no real way to describe it on paper, it’s something that must be experienced for the full effect.

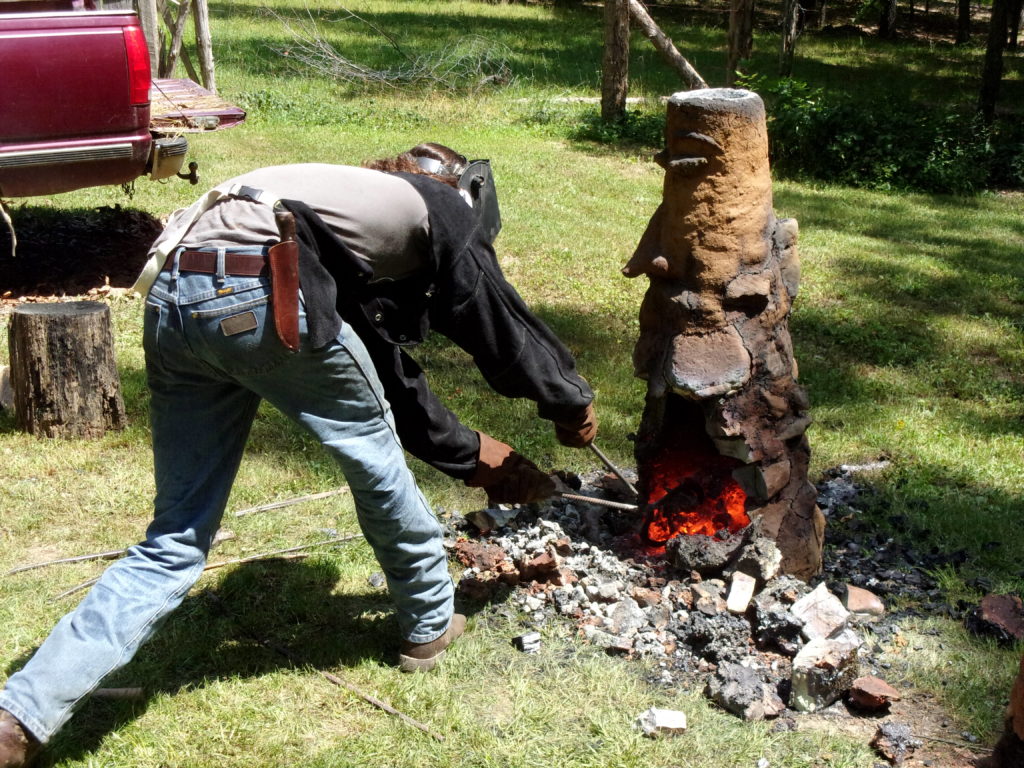
A long steel poker or two will also come in handy. I currently use two, one which has been forged to a point and one with a chisel end. The pointed one works great for driving in to the side of the furnace when it come to tapping slag and the chisel ended one is used to pry open the door of the furnace and break the bloom away from the walls.
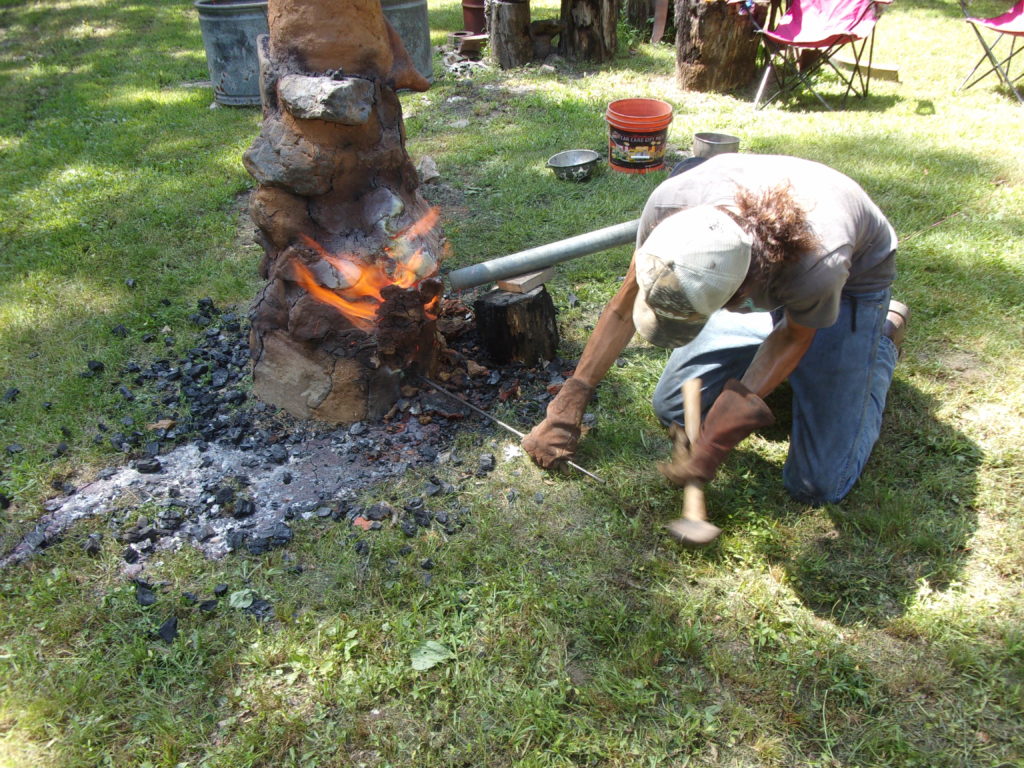
Rebar, if available, makes a good sturdy poker. Something in the 3-4 foot range should keep you a good distance from the inferno.
With your pokers and tongs gathered you’ll also need a couple hammers. When it comes to tapping slag a small sledgehammer will suffice, around 2 or 3 pounds. A bigger one is also needed to consolidate the hot bloom when it comes from the fire. A larger sledgehammer will work here too, but you may wish to make yourself a big wooden mallet as I have. My mallet consists of a large 10 pound oak head and a hickory handle and took me maybe 20 minutes to make.
An anvil of sorts will also be needed. A large stump will work nicely and after a few smelts it’ll get a good dish burned into it and work even better. A regular firewood size piece will be long enough, just make sure its big enough around not to tip over.
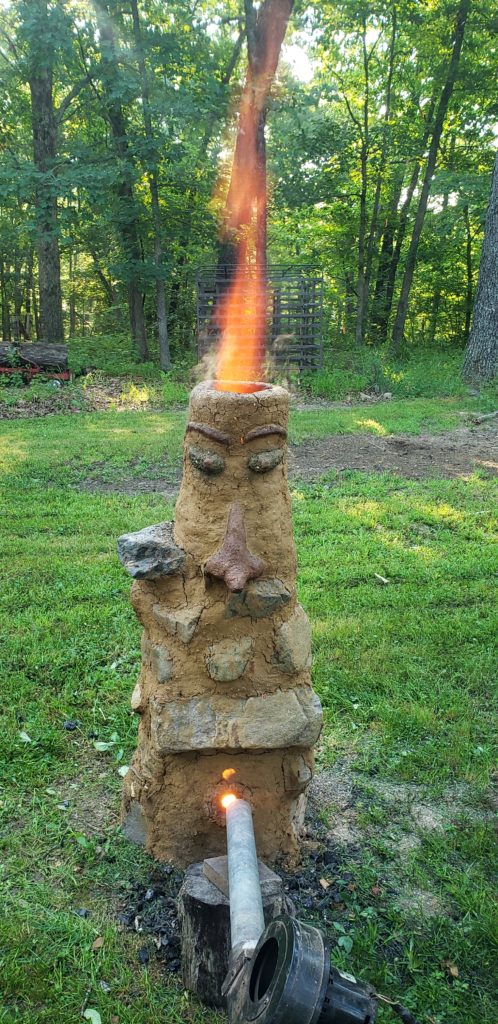
Next we’ll discuss air and the means to harness its power.
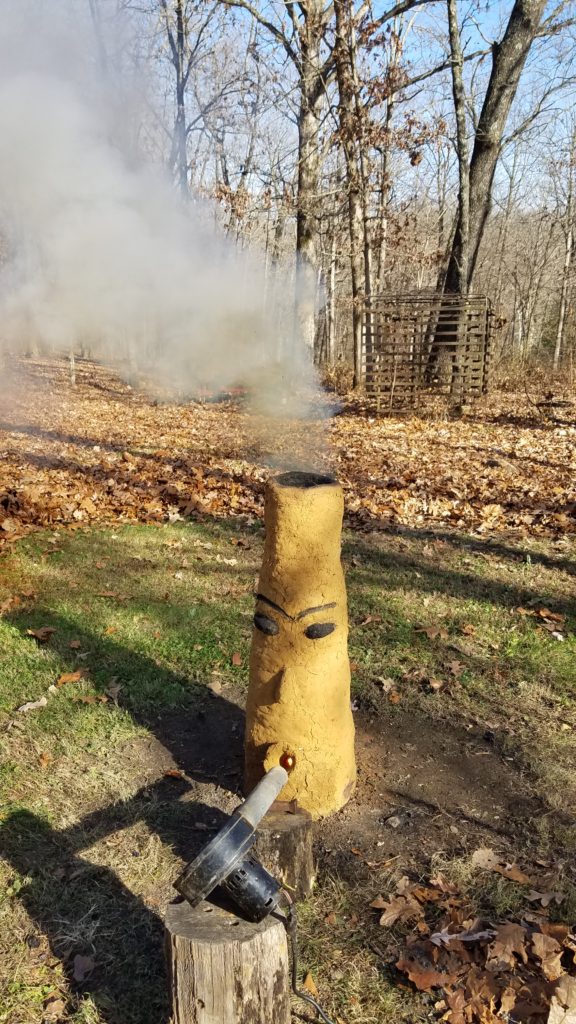
Everyone knows the best way to make a fire hotter is to add more oxygen. The same is true for smelting. You’ll need some sort of air source, whether it’s a blower, bellows, or if you’re really ambitious natural draft. If its the ladder then chances are you’re way ahead of me. Since I’m a one man show I’m forced to use a electric blower.
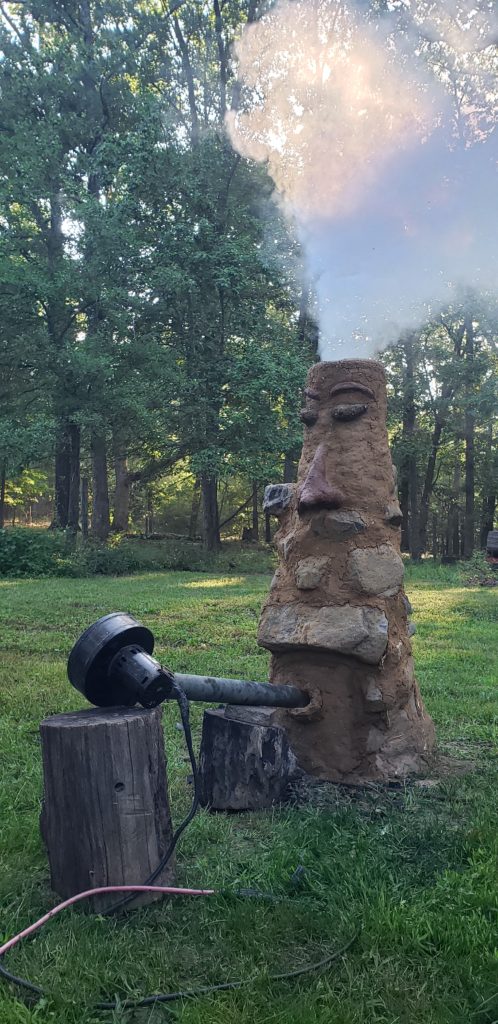
Historically however single action bellows used singly or even in tandem were used. I’m currently in the process of making a large set of double lung bellows for my 18th century blacksmith shop that I hope to make. However even double lung bellows are not any more historically accurate than a hot water heater blower which is what I use now, but they are a lot cooler. If your limited in friends willing to spend the day pumping away on bellows then your only feasible way is to use an electric blower. No mater what you use it’ll need to be able to deliver a sufficient volume of oxygen at a proper velocity. A strong velocity is needed to force the air into the fuel bed and ideally to the back wall of the furnace to ensure that there’s not cold spot in the back. Lee Sauder has published extensive research on optimum airflow in different size furnaces.
To elaborate on natural draft
Smelting without a bellows or blowers is possible by harnessing what is known as the stack effect. Based on my research it was used often in Africa and continued to be in isolated areas even after the process became obsolete.
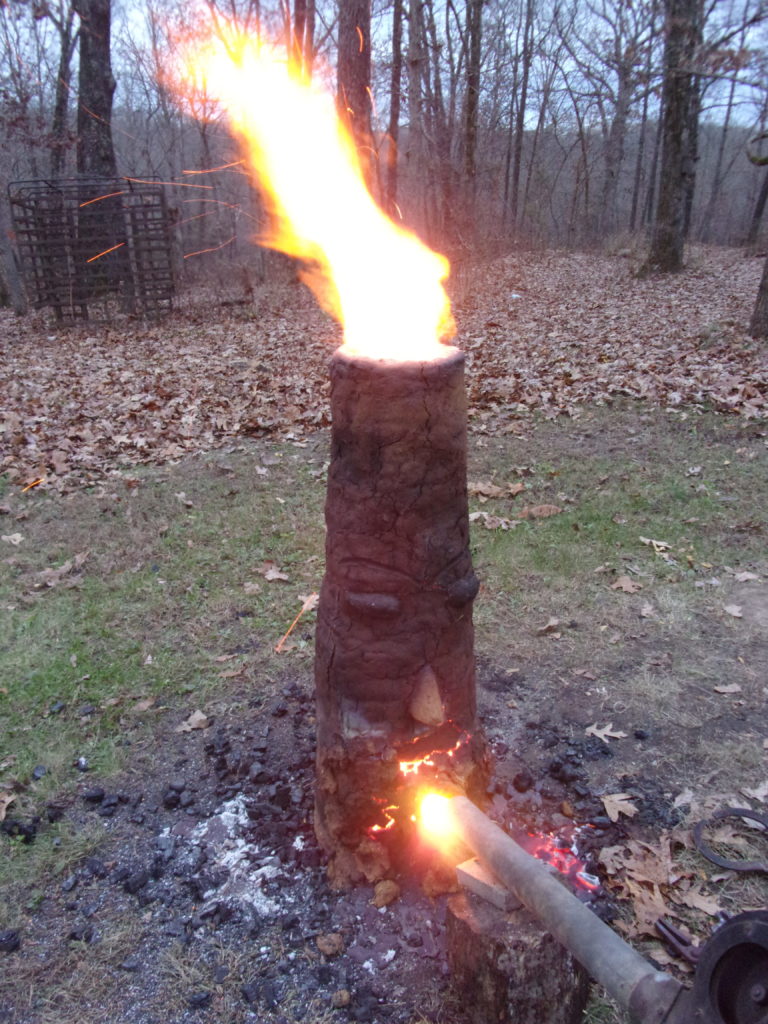
The principal behind the ‘stack effect’ is simple, terminal buoyancy of air in a building or in this case a flue draws air through an opening and upward. This cycle is perpetual as along as there is a difference in air temperature. Put even more simply, it’s how fire places work. The taller the chimney the better the draw. The same is true for a smelting furnace. If you choose to build a natural draft furnace it’ll need to be many feet tall with multiple smaller sized tuyeres. As the temperature of the fire increases so should it’s draw, and ideally it should be able to reach smelting temperatures (that’s why sometimes when a fire is first lit in a poorly designed fireplace it’ll smoke until the flue warms)
Safety equipment
Since you’ll be working with some rather hot materials its a good idea to take a few precautions and invest in some safety equipment.
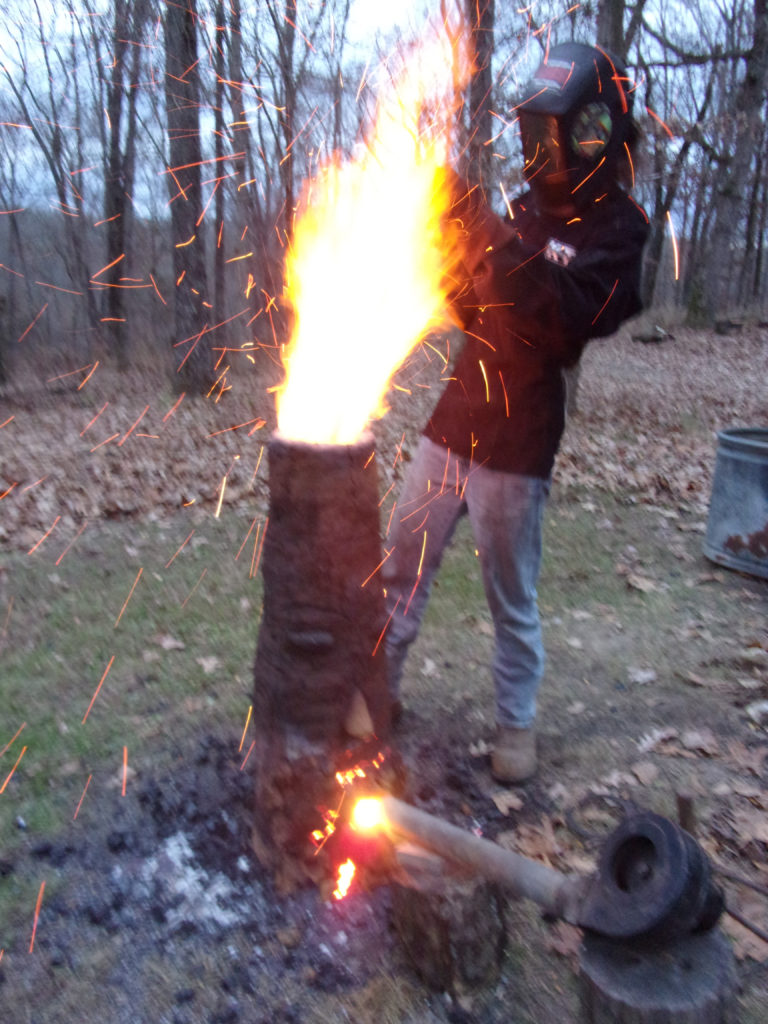
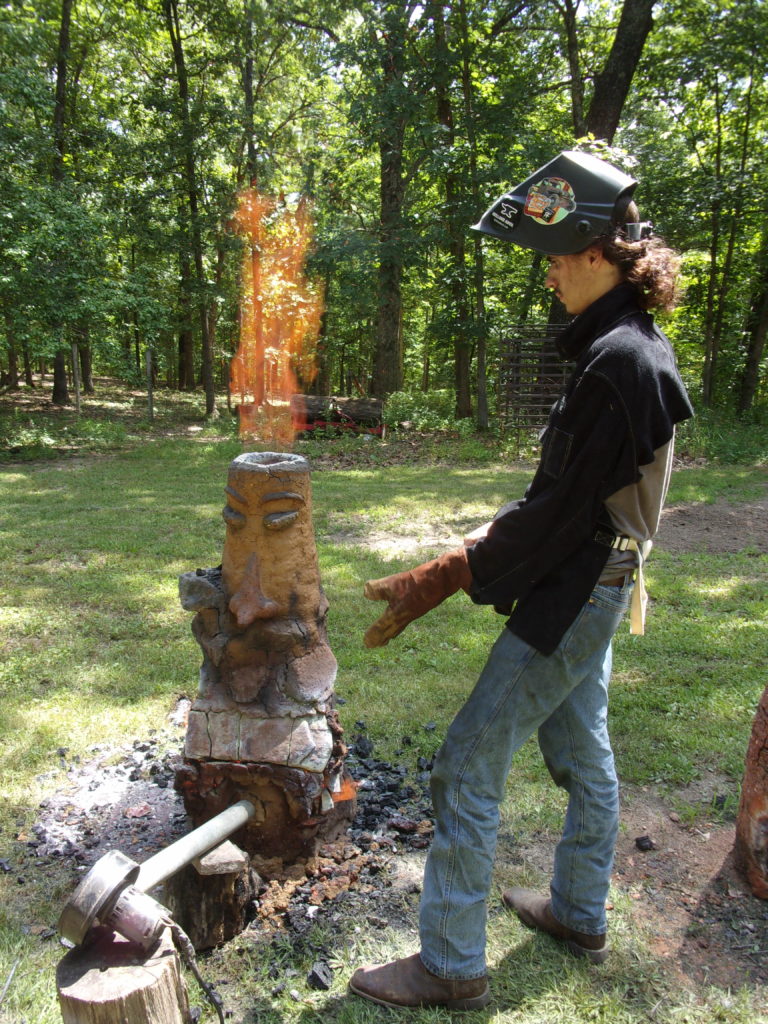
Firstly, safety glasses should be worn anytime you’re around the furnace, especially if you’re the one tasked with feeding the beast. Charcoal creates a lot of sparks when its burning that like to pop out of the furnace and lodge in your eyes (trust me on this one). They also help keep your eyes from drying out in the heat.
Another handy thing is a full face shield or even better a welding helmet. A welding helmet is preferred because at some point you’ll need to look into the tuyere to dislodge some slag thats built up and the intensity of the light is bright enought to damage your eyes. I use a shade 10 plate in my old fixed shade hood but you could probably use any shade down to a 5. When it comes time to extract the bloom a welding hood will really shine. I swap out my filter plate for a clear glass one. The heat from the freshly breached furnace is unbearable without some sort a face covering, I’ve done it once without one and never will again.
A leather welding jacket will also go a long way. For the biggest part of the smelt I only wear a long sleeve flame retardant shirt and regular denim pants, but when its time to birth the bloom you’ll want something with a little more protection. Under NO circumstances should you be wearing any type of synthetic fiber.
Leather gloves should be pretty obvious. Gauntlet style welding gloves are preferred and usually dirt cheap. Get several pairs for you and your buddies.
Shoes should also be fairly self explanatory as well. While I have been known to make iron in rubber farm boots 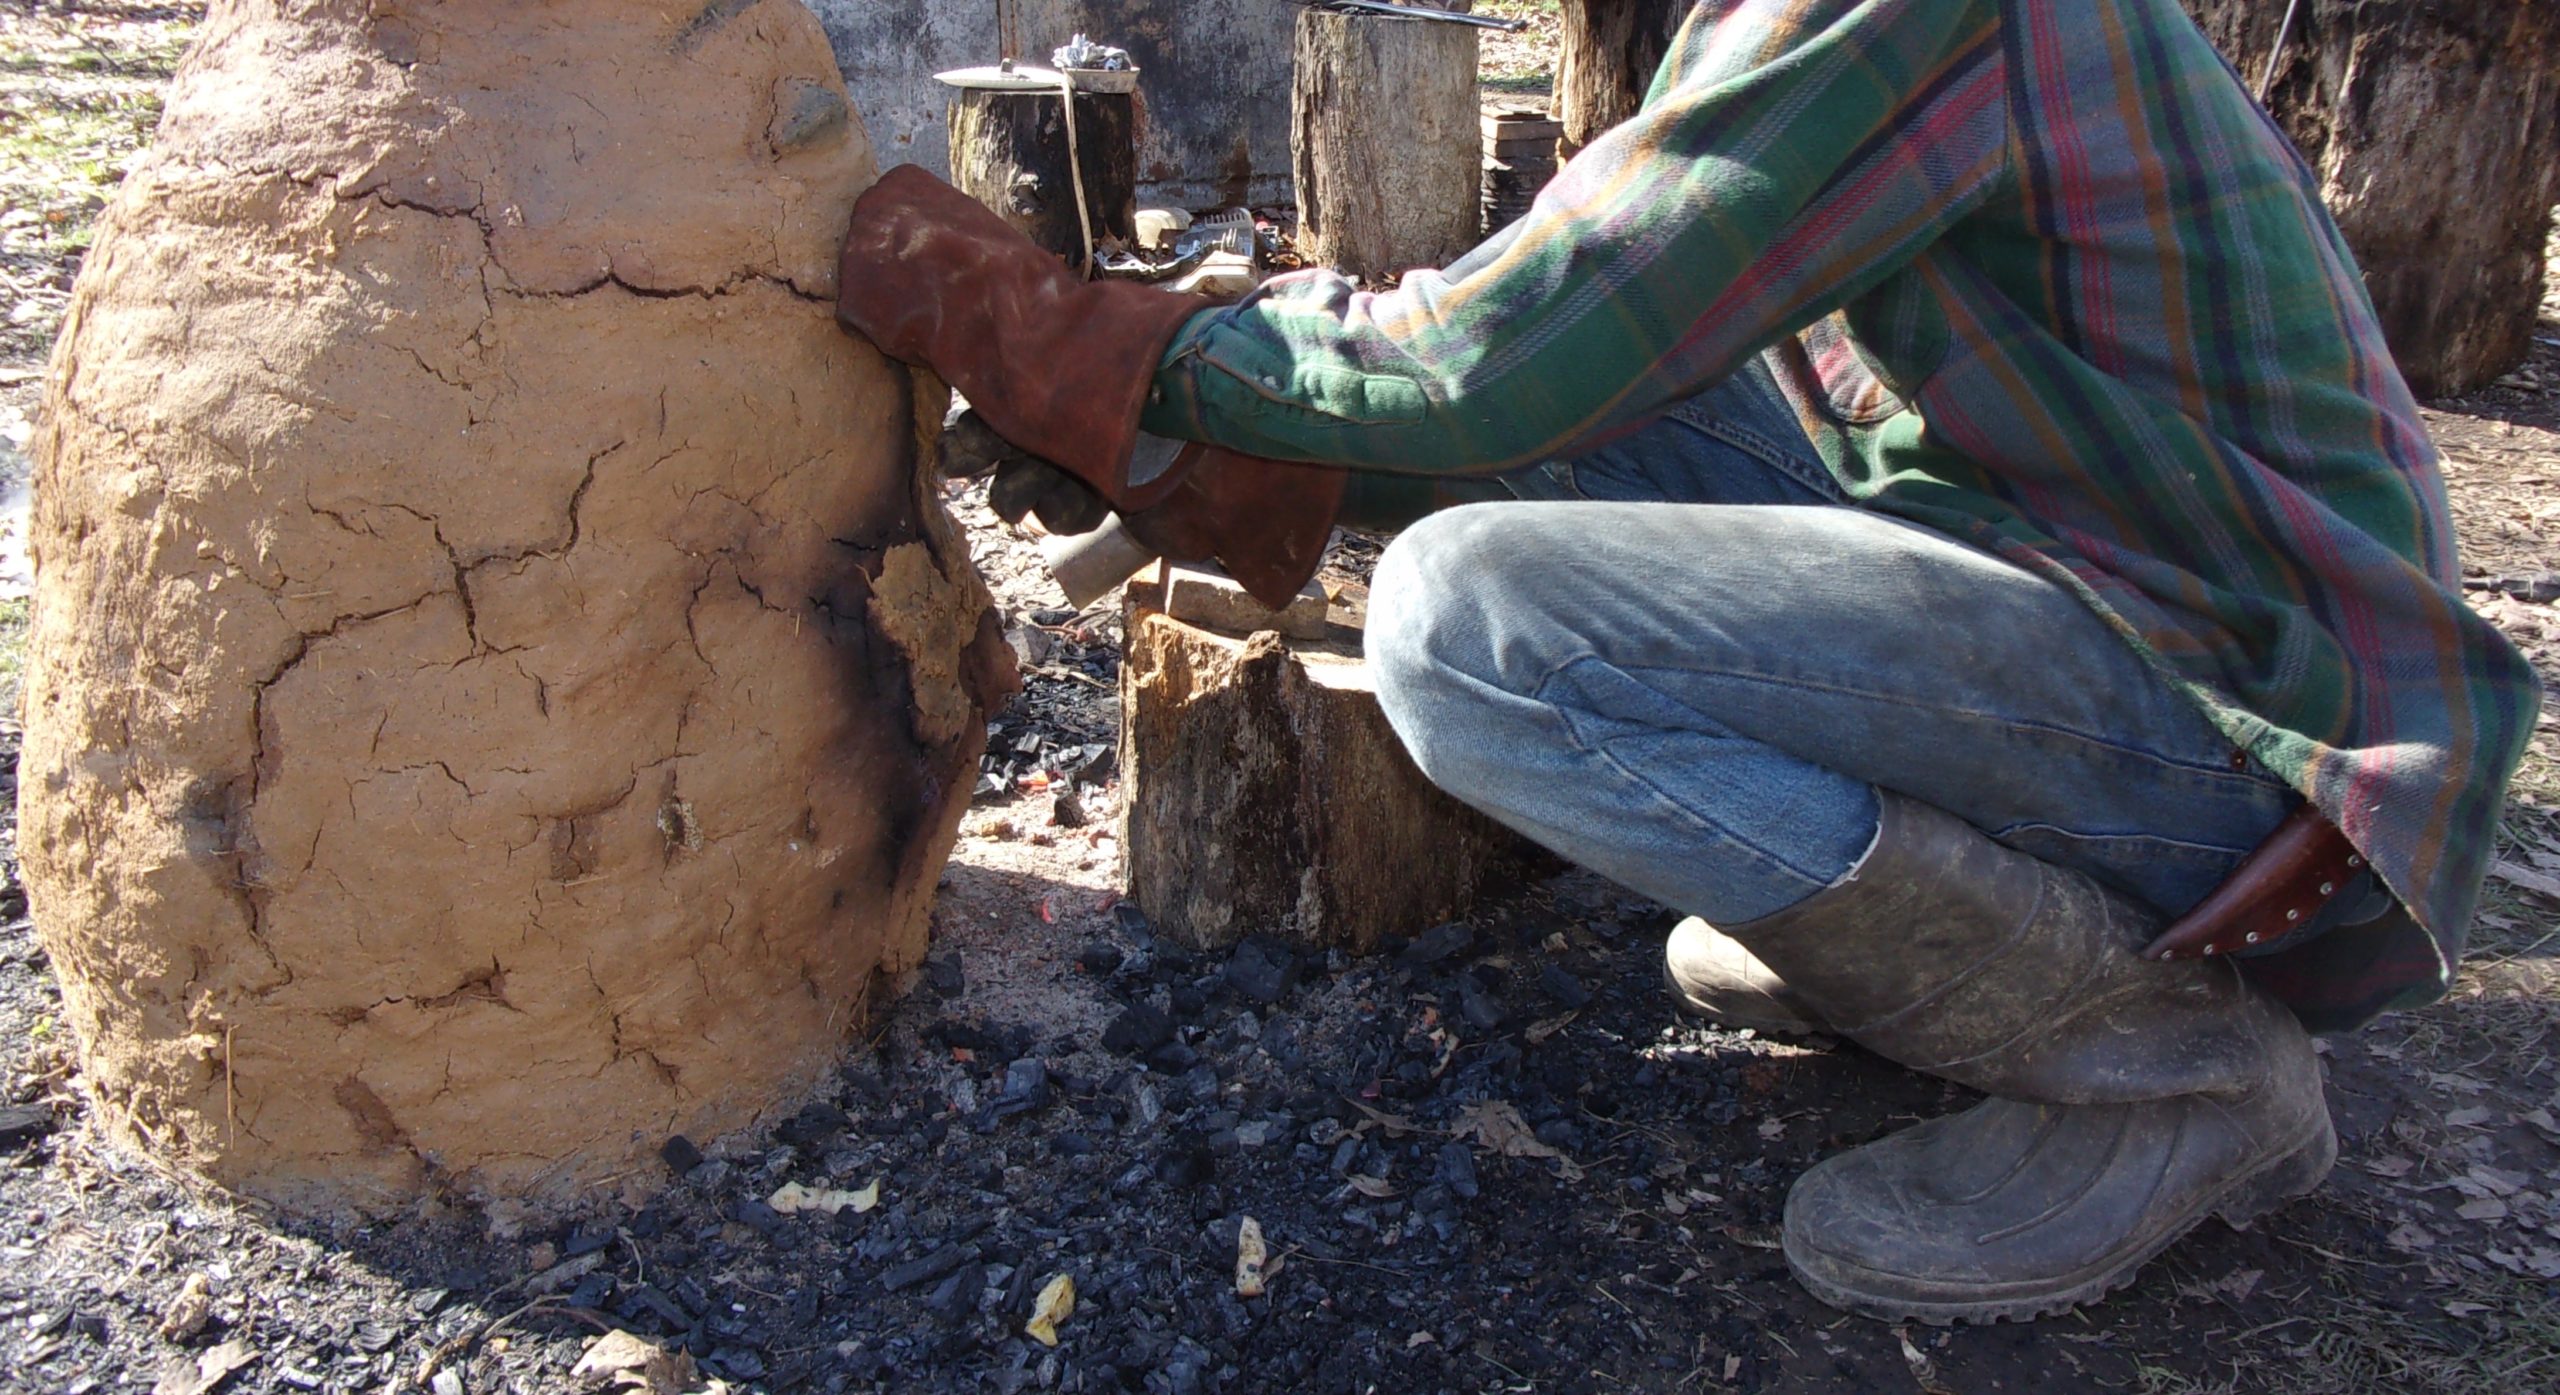 but I would have to advise against it. You’ll want something that your pants can go over like slip on work boots, just don’t wear them on the outside of your pants like those weird city people. Leather is of course preferred.
If you’re near a source of water its a good idea to have a couple buckets of water or a hose on hand to help wrangle a fire should one occur. Maybe a bucket of sand as well to spread over any hot slag that has run from the furnace to keep anyone from stepping on it and melting their shoes.

Lastly if you live in a residential area be sure to check your local burn ordnance before starting. If have grouchy neighbors chances are they’ll call the fire department on you and if they deem your operation unsafe they’ll shut you down before any fun can be had.
With that, comes an end to the first installment of our bloomery iron smelting series, I hope this information will be helpful to anyone wishing to pursue iron smelting as a hobby. As always if you have any questions, or corrections, please leave a comment below. Good luck and I hope to see you all at the next post!